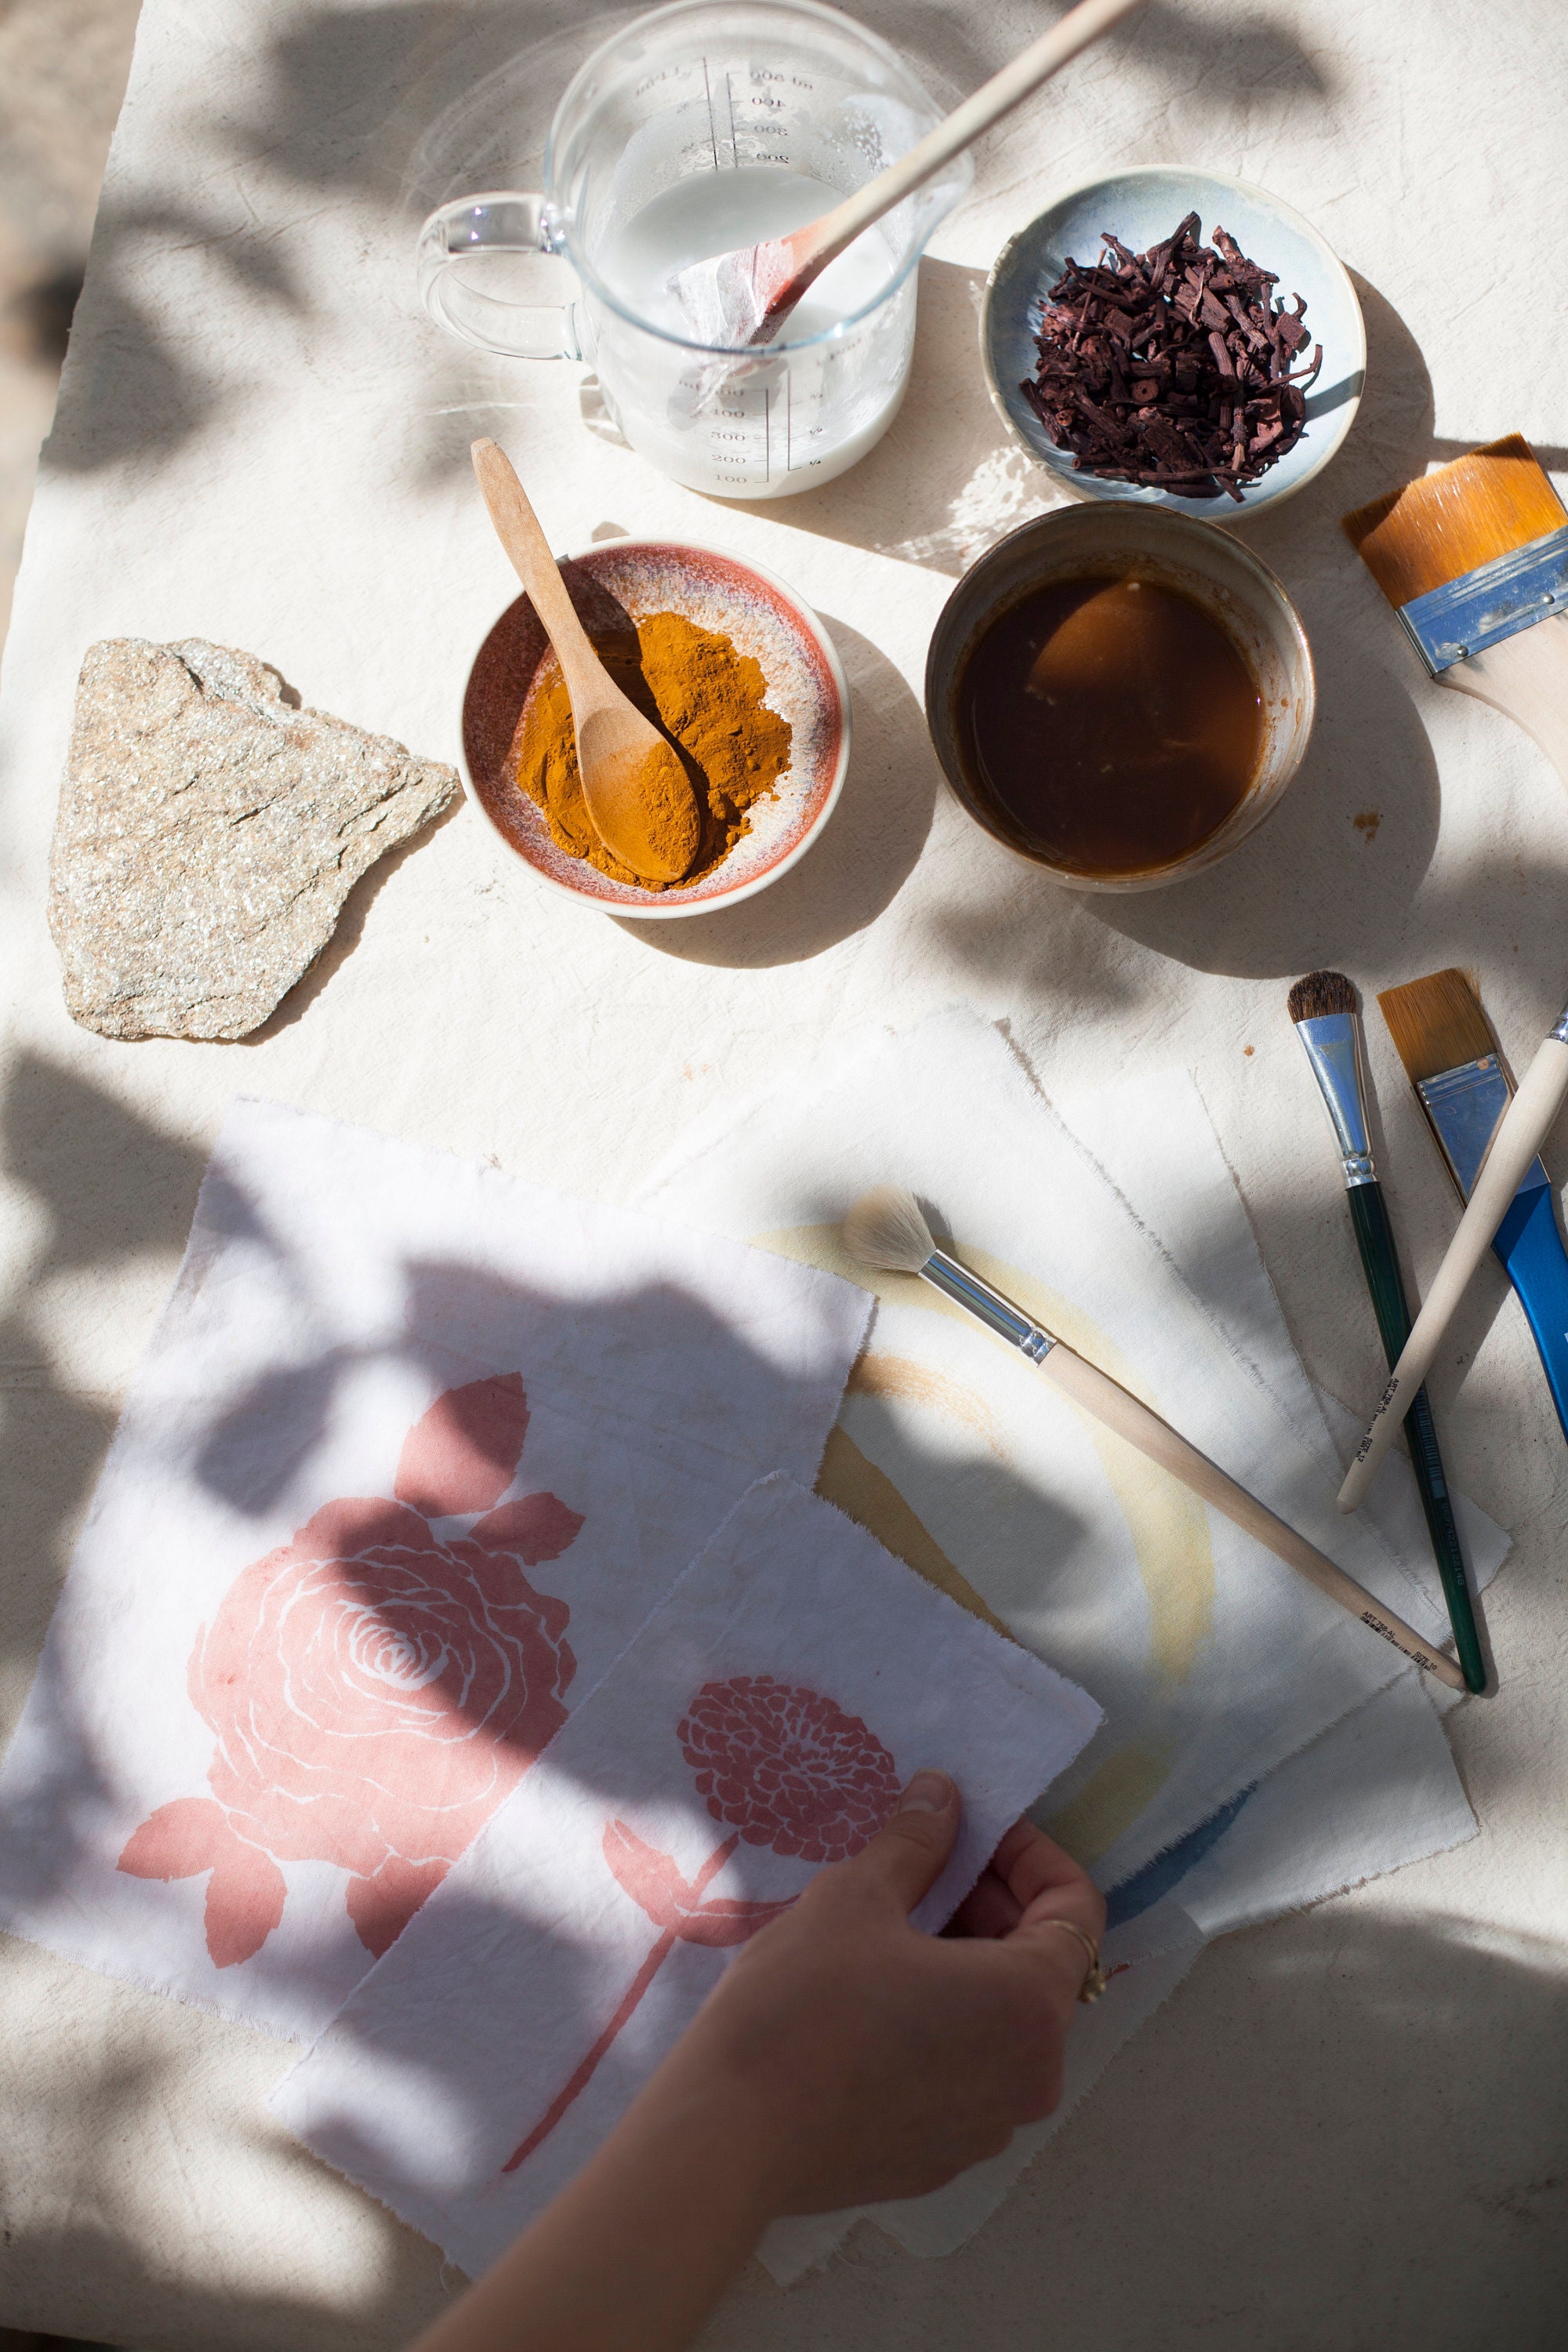
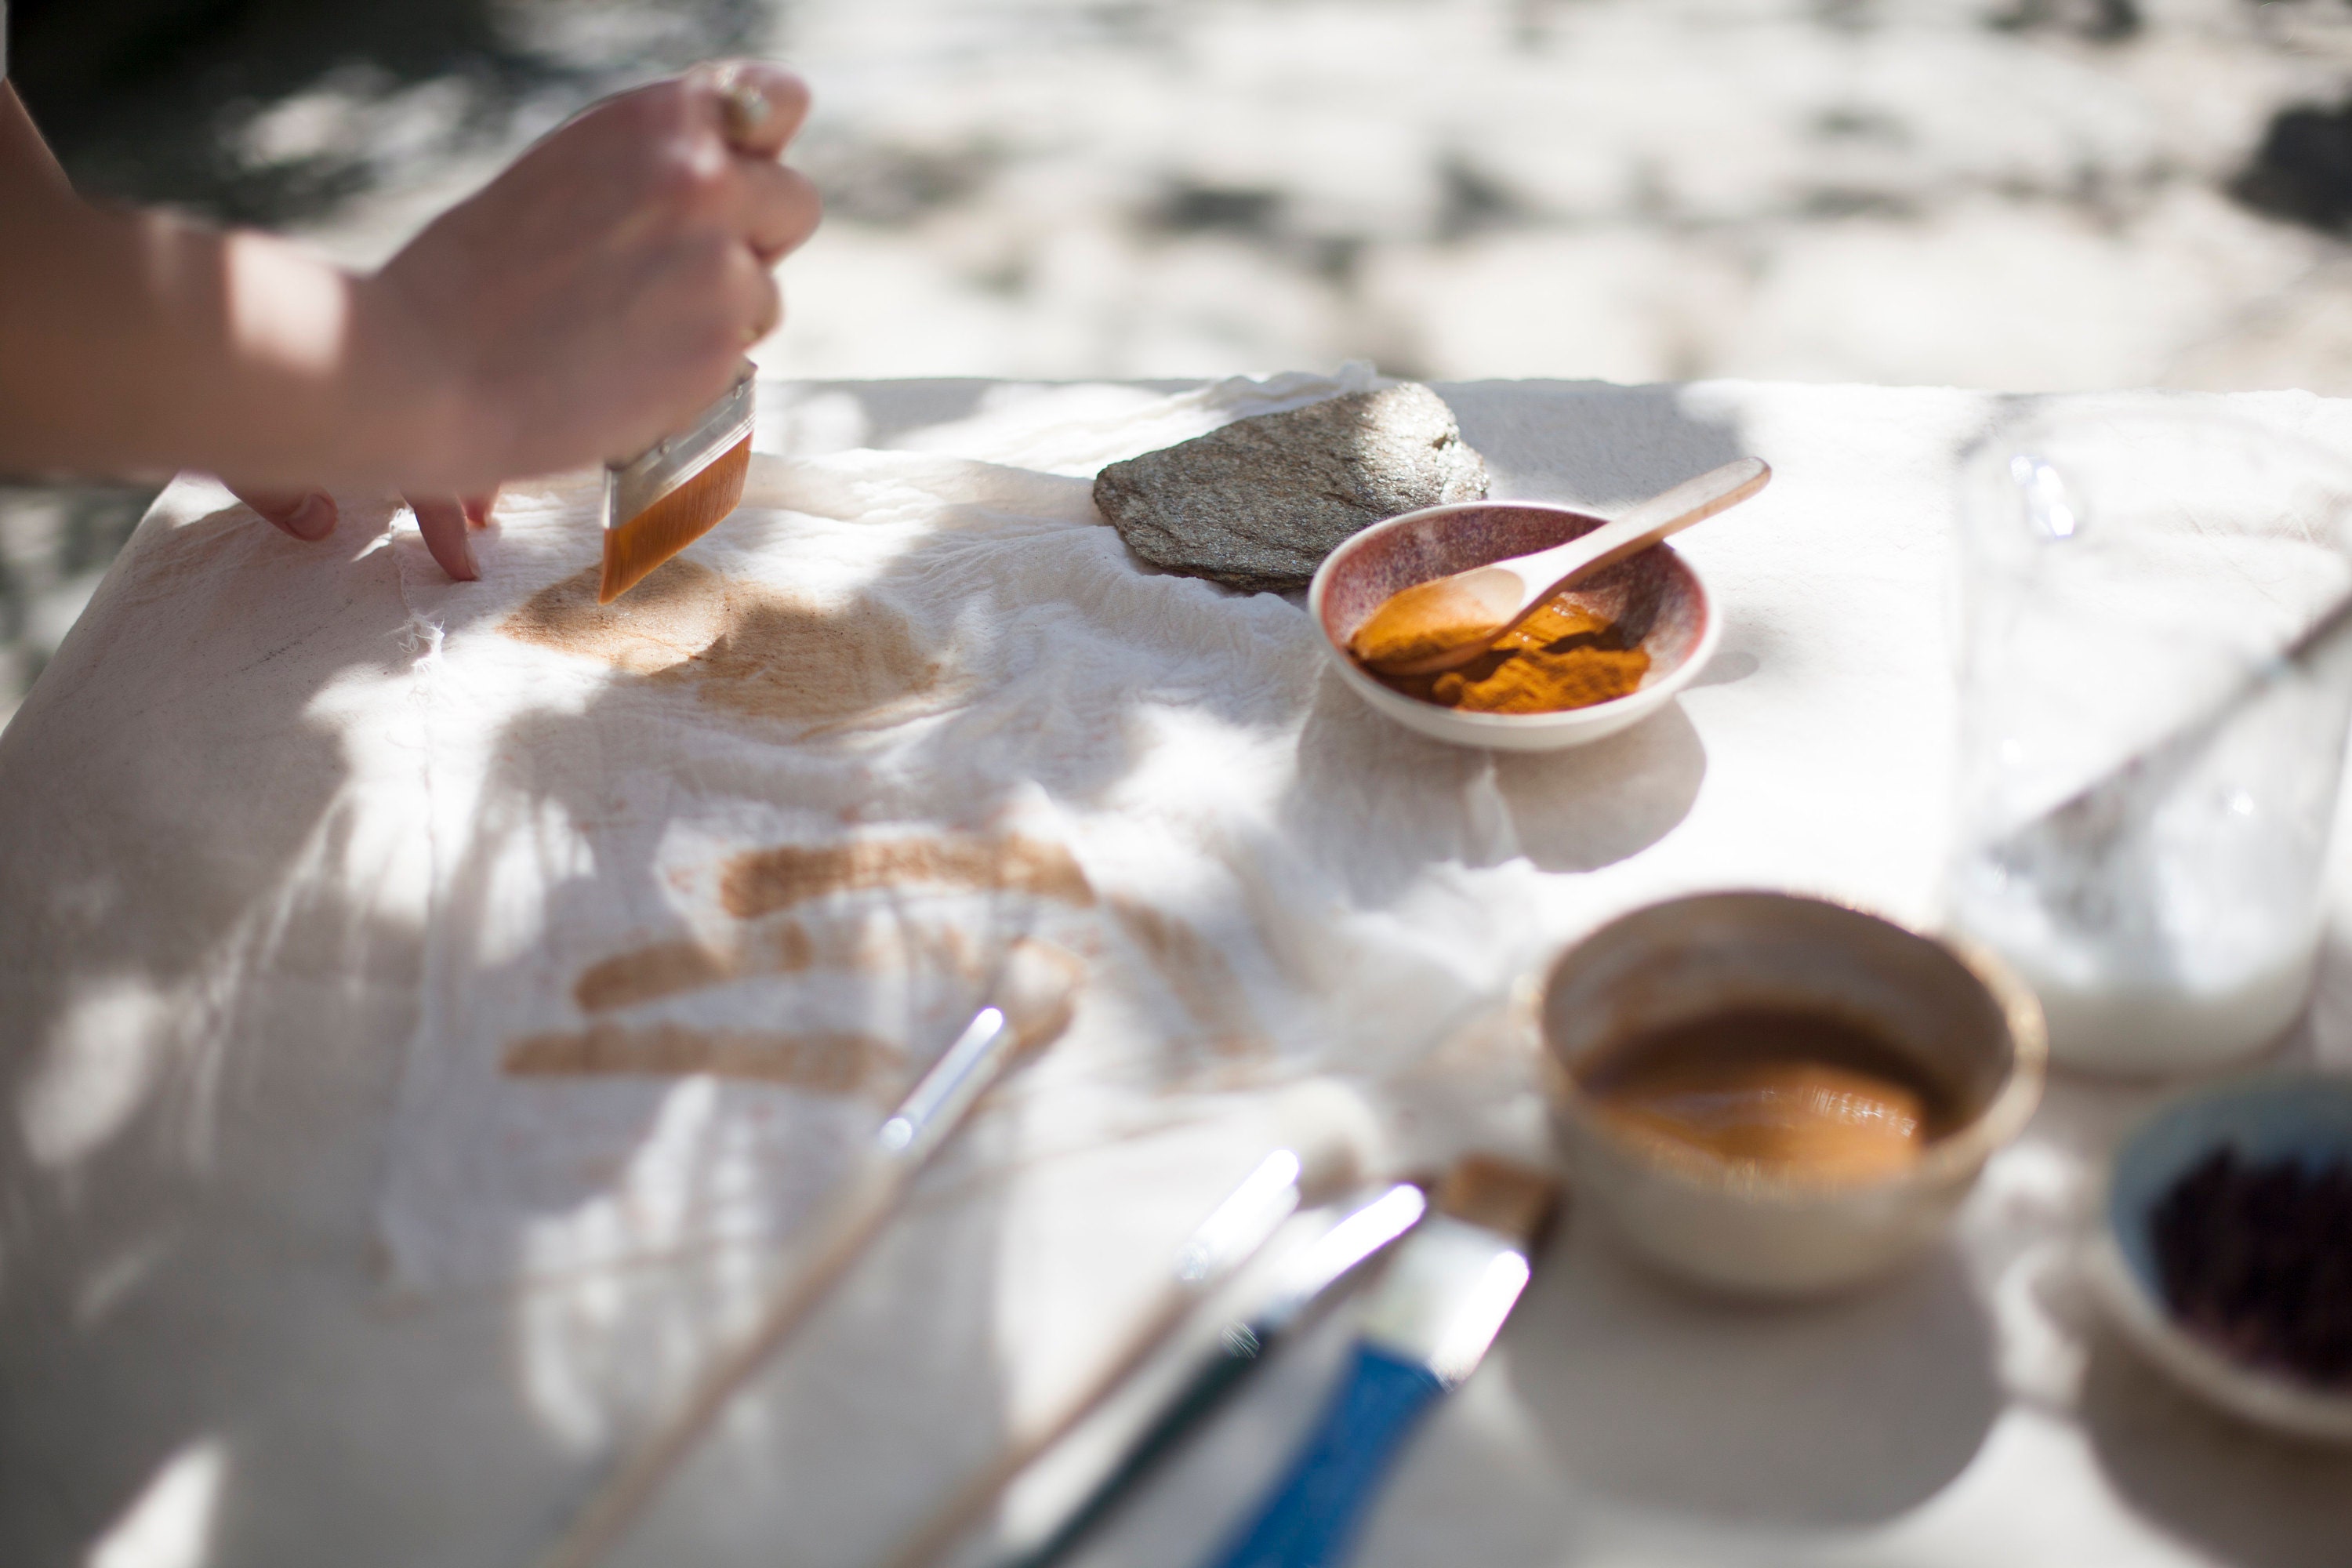
Recently, we've been getting a lot of questions about whether or not it's possible to print with natural dyes. So, we've decided to create a blog post and prepare a kit (for plant fibers) to show you just how easy it is to do. Click here to view our new product Printing with Natural Dyes Kit.
Our answer is a resounding yes - it's definitely possible to print with natural dyes! Printing techniques are some of our favorite methods for natural dyeing. We've tried many different techniques, such as brush applications, stencils, and wood printing, and have had successful results with all of them.
The main principle behind natural dyeing is binding a metal ion to the fiber using metal salts, also known as mordants. This is what allows the dye molecule to attach to the fiber. The same principle applies to printing with natural dyes. The first step in the process is to mordant the fabric. To do this, you'll need to select a recipe for the mordanting process that is appropriate for the type of fabric you are using. We offer Cotton Mordanting Kit for cellulosic fibers (such as cotton), Silk Mordanting Kit for silk, and Wool Mordanting Kit for wool.
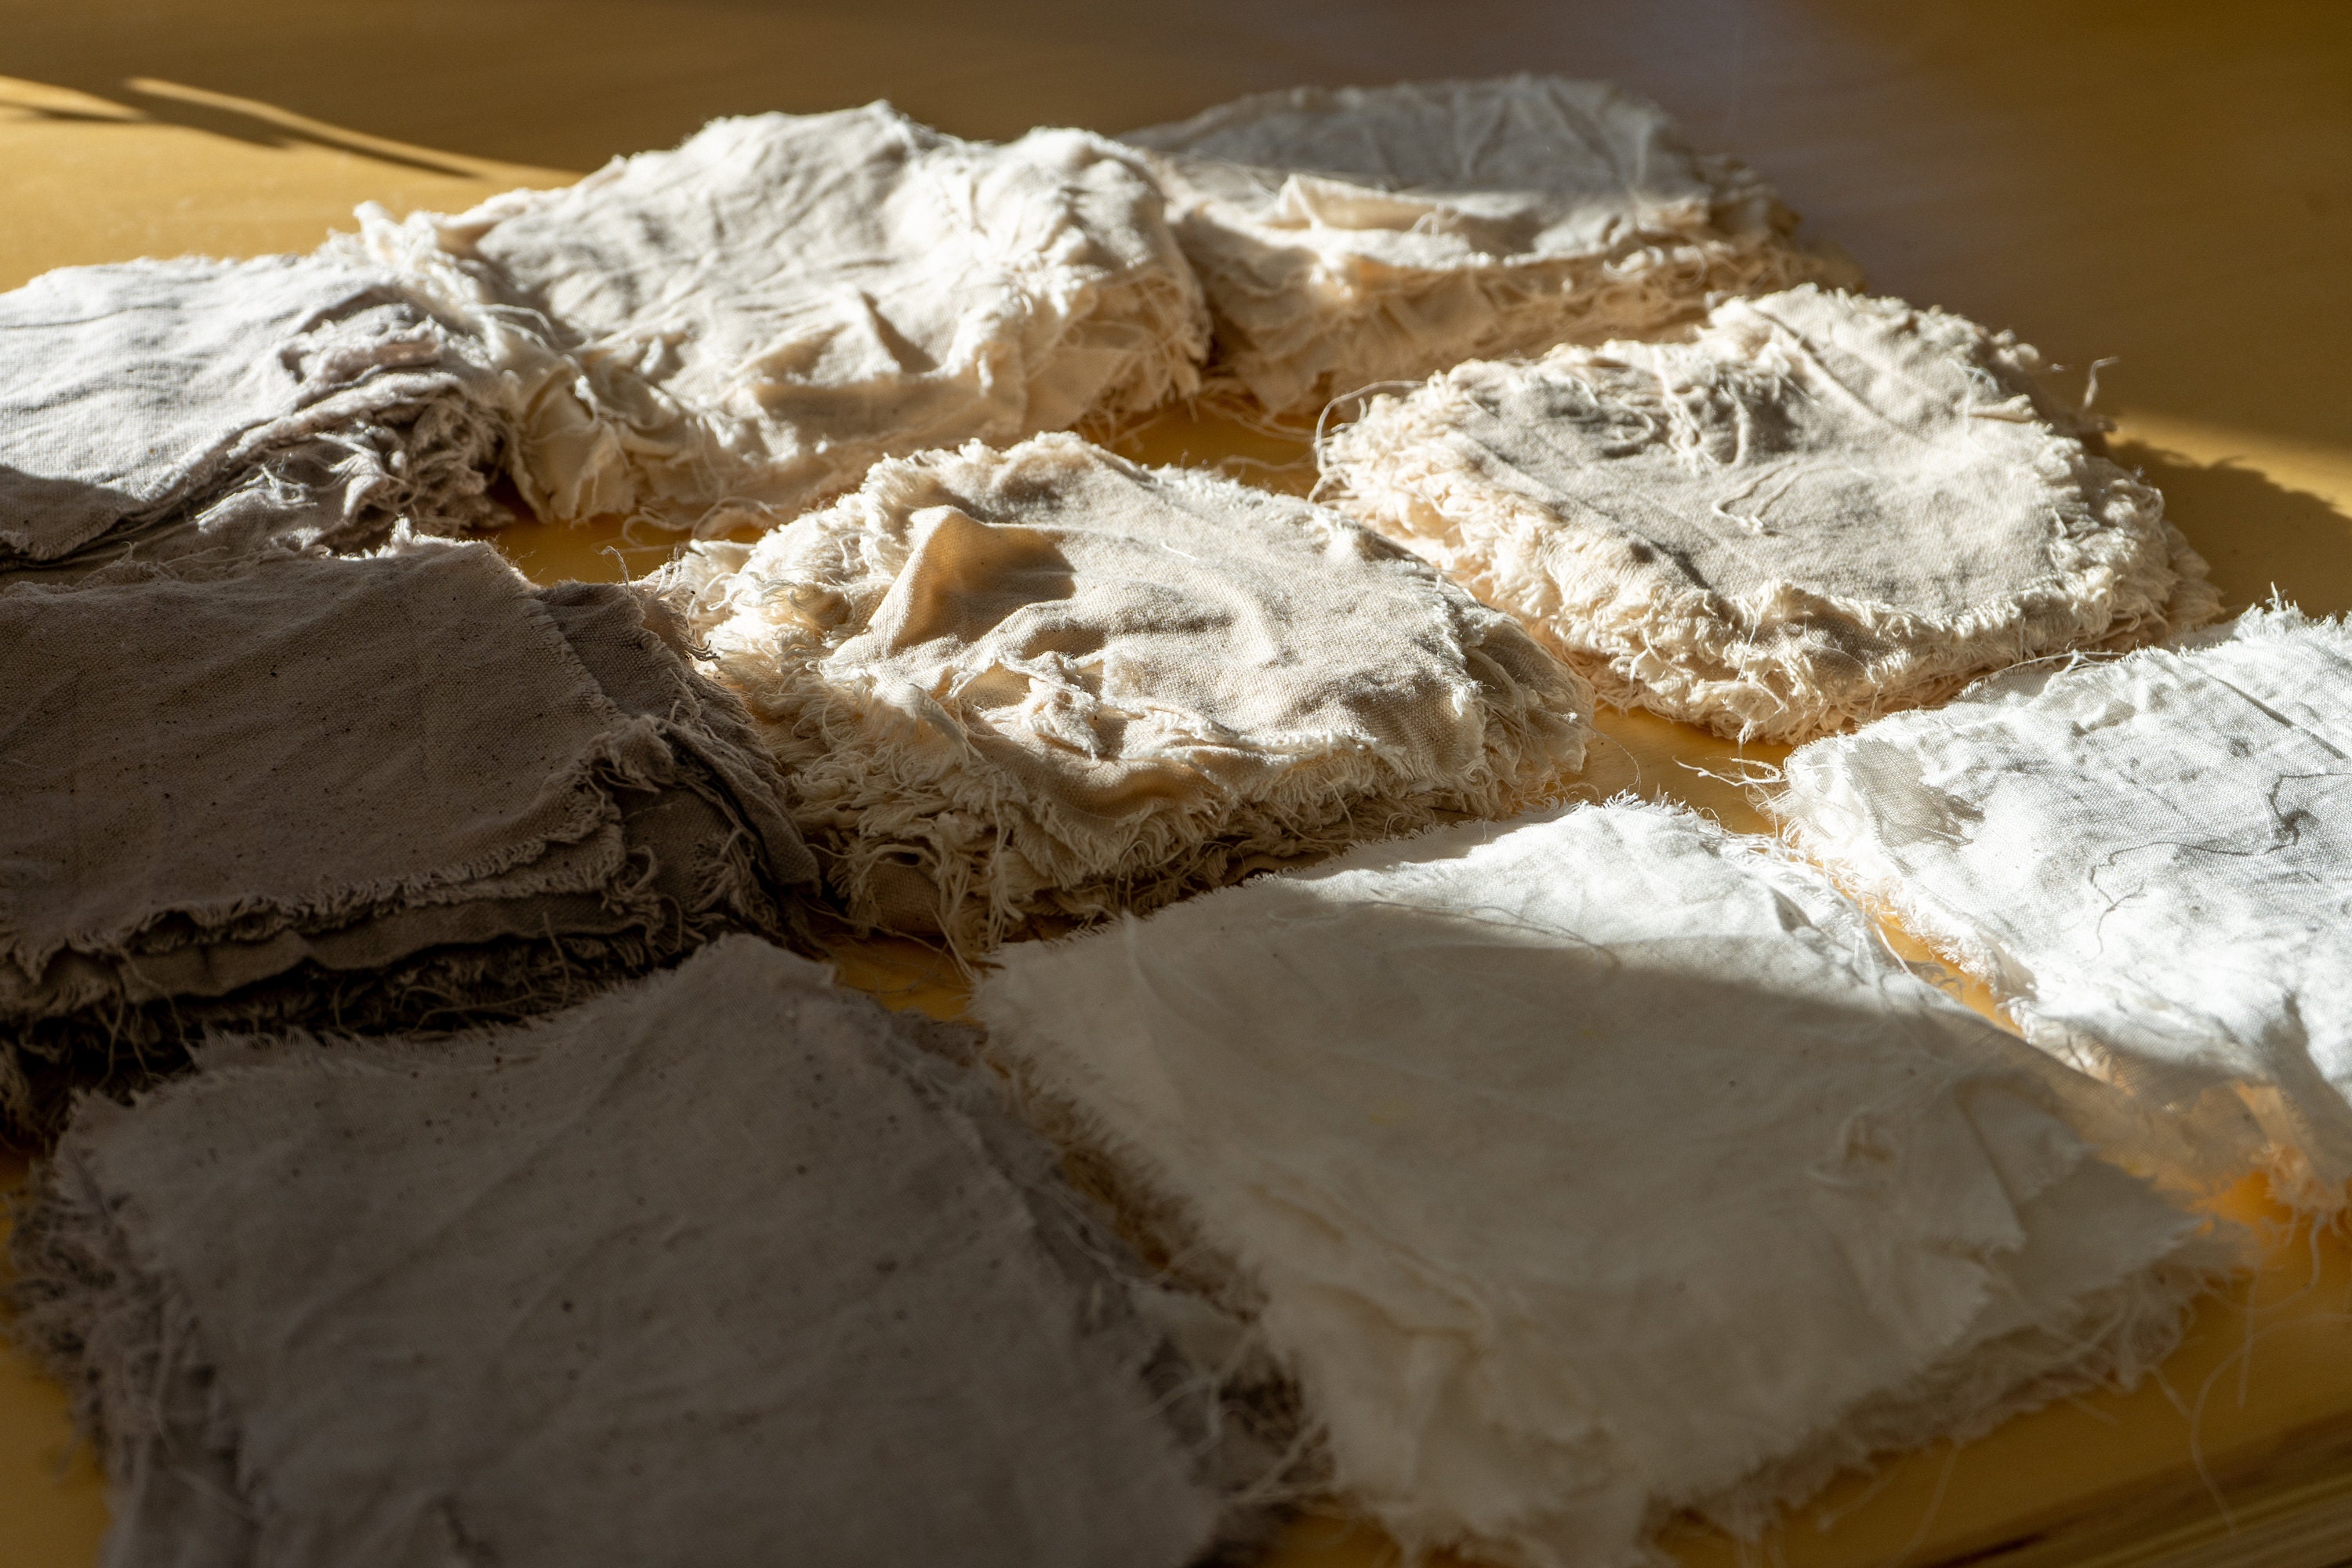
Once you've completed the mordanting process, you can prepare your dye for printing and apply it to the fabric using any technique you prefer. After the dye dries, steam iron the area you printed from the back or by placing a piece of fabric on it. Keep in mind that there is a possibility of the dye spreading. After this process, a permanent bond is formed between the mordant and the dye molecules. To ensure that the bond is not strained immediately, it's best to cure the fabric for at least one week before washing it. This period may be longer, the longer the better. You can also repeat the ironing process at intervals. After washing, your fabric is ready for use.
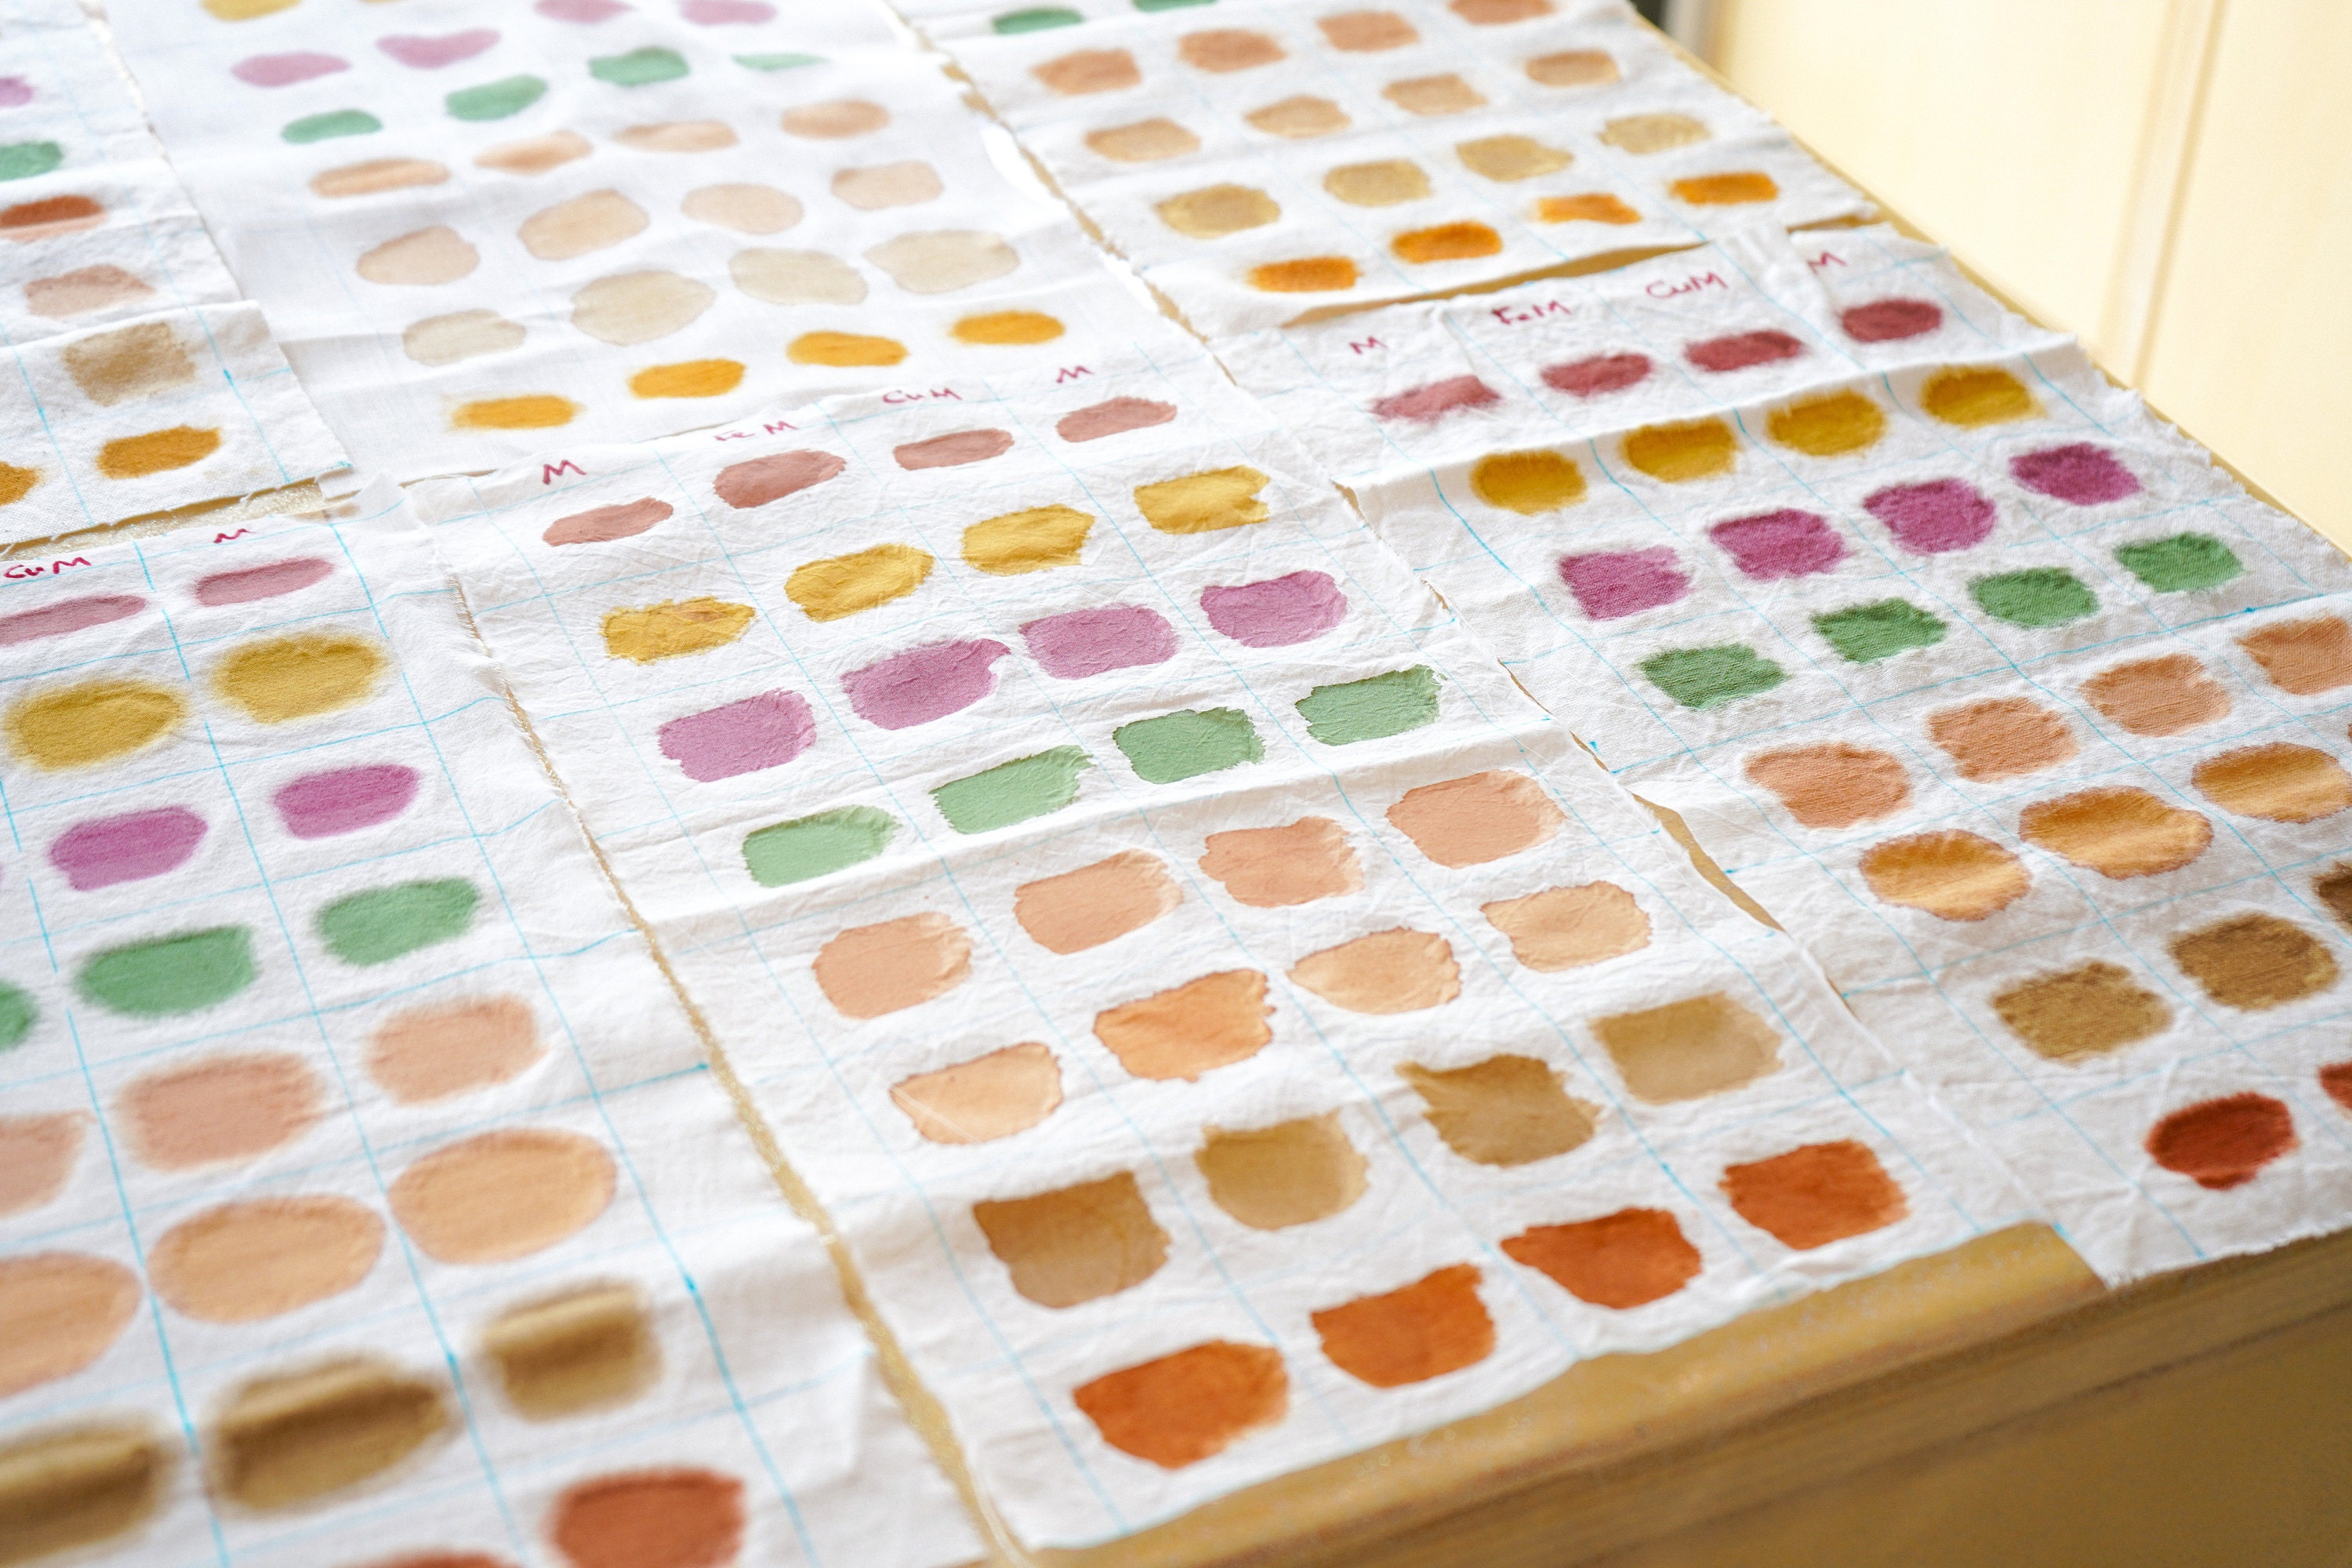
So, how do we prepare the dye for printing? The method for preparing the dye for printing consists of dissolving natural dye extract in powder form in water and then increasing the consistency of the solution. At this point, we use guar gum, which is obtained from guar beans, as a binder. The more guar gum you use, the thicker your dye will be. Since brush applications will require less thickness than stencil and wood printing applications, the amount of guar gum used should be less.
To make it easier to control the consistency of the dye, we suggest preparing a stock guar gum mix. Add 3g of guar gum to 200ml of water and whisk the mixture with a blender until it reaches a thick consistency. This mixture will be your stock binder.
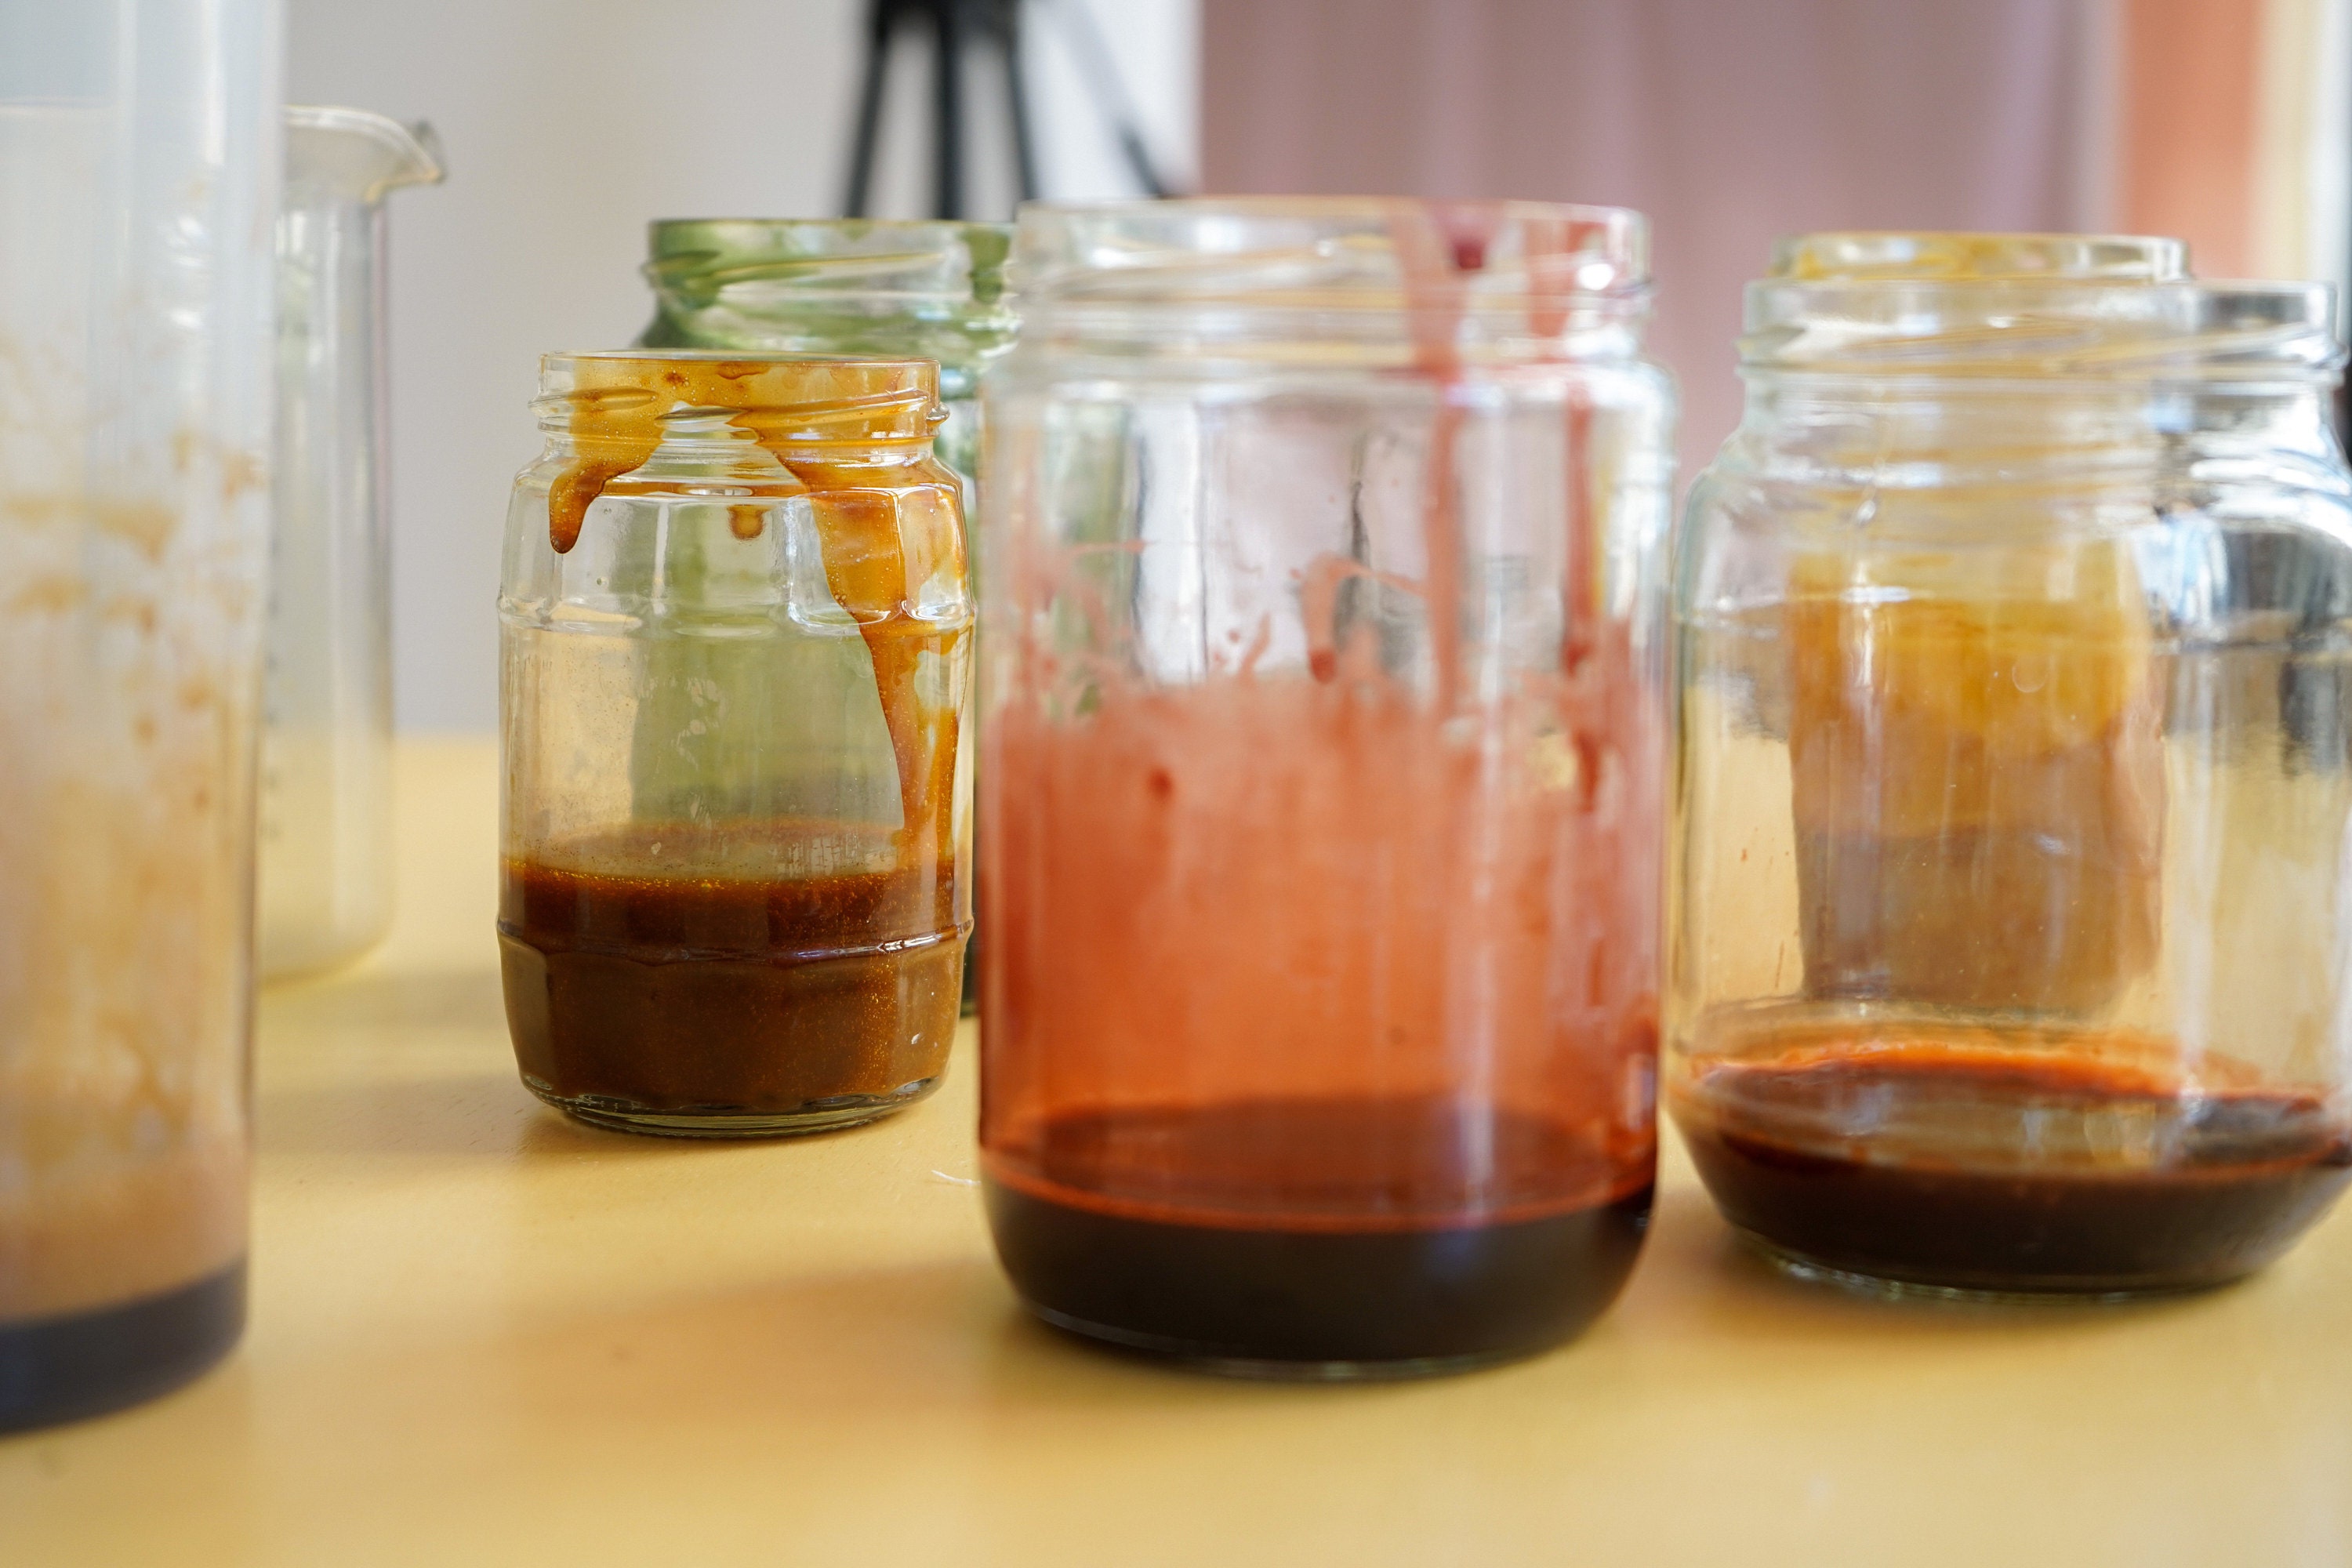
In another container, dissolve 1g of dye extract in 100ml of water. Then, start adding the guar gum from your stock with a spoon until you reach the desired consistency. Note how much guar gum stock you use when the desired consistency occurs so that you can get the same result in your next application. When adjusting the consistency, test it on a piece of fabric that is not necessarily mordanted. So, whatever your technique is, when you add guar gum, test it with the adequate tools. If you are going to use a brush, test it with a brush, or if you print with a woodblock, check the consistency of your dye on the fabric with your block. If the consistency of the dye is too watery, the excess water in the dye will cause bleeding. In this case, you need to add more guar gum. If you are going to print with a block, keep in mind that you need to make several test prints for your block to become saturated. You can apply the dye to the block with a sponge or brush, or you can soak an absorbent fabric with your dye on a surface like a tray and use it as a printing pad for your block.
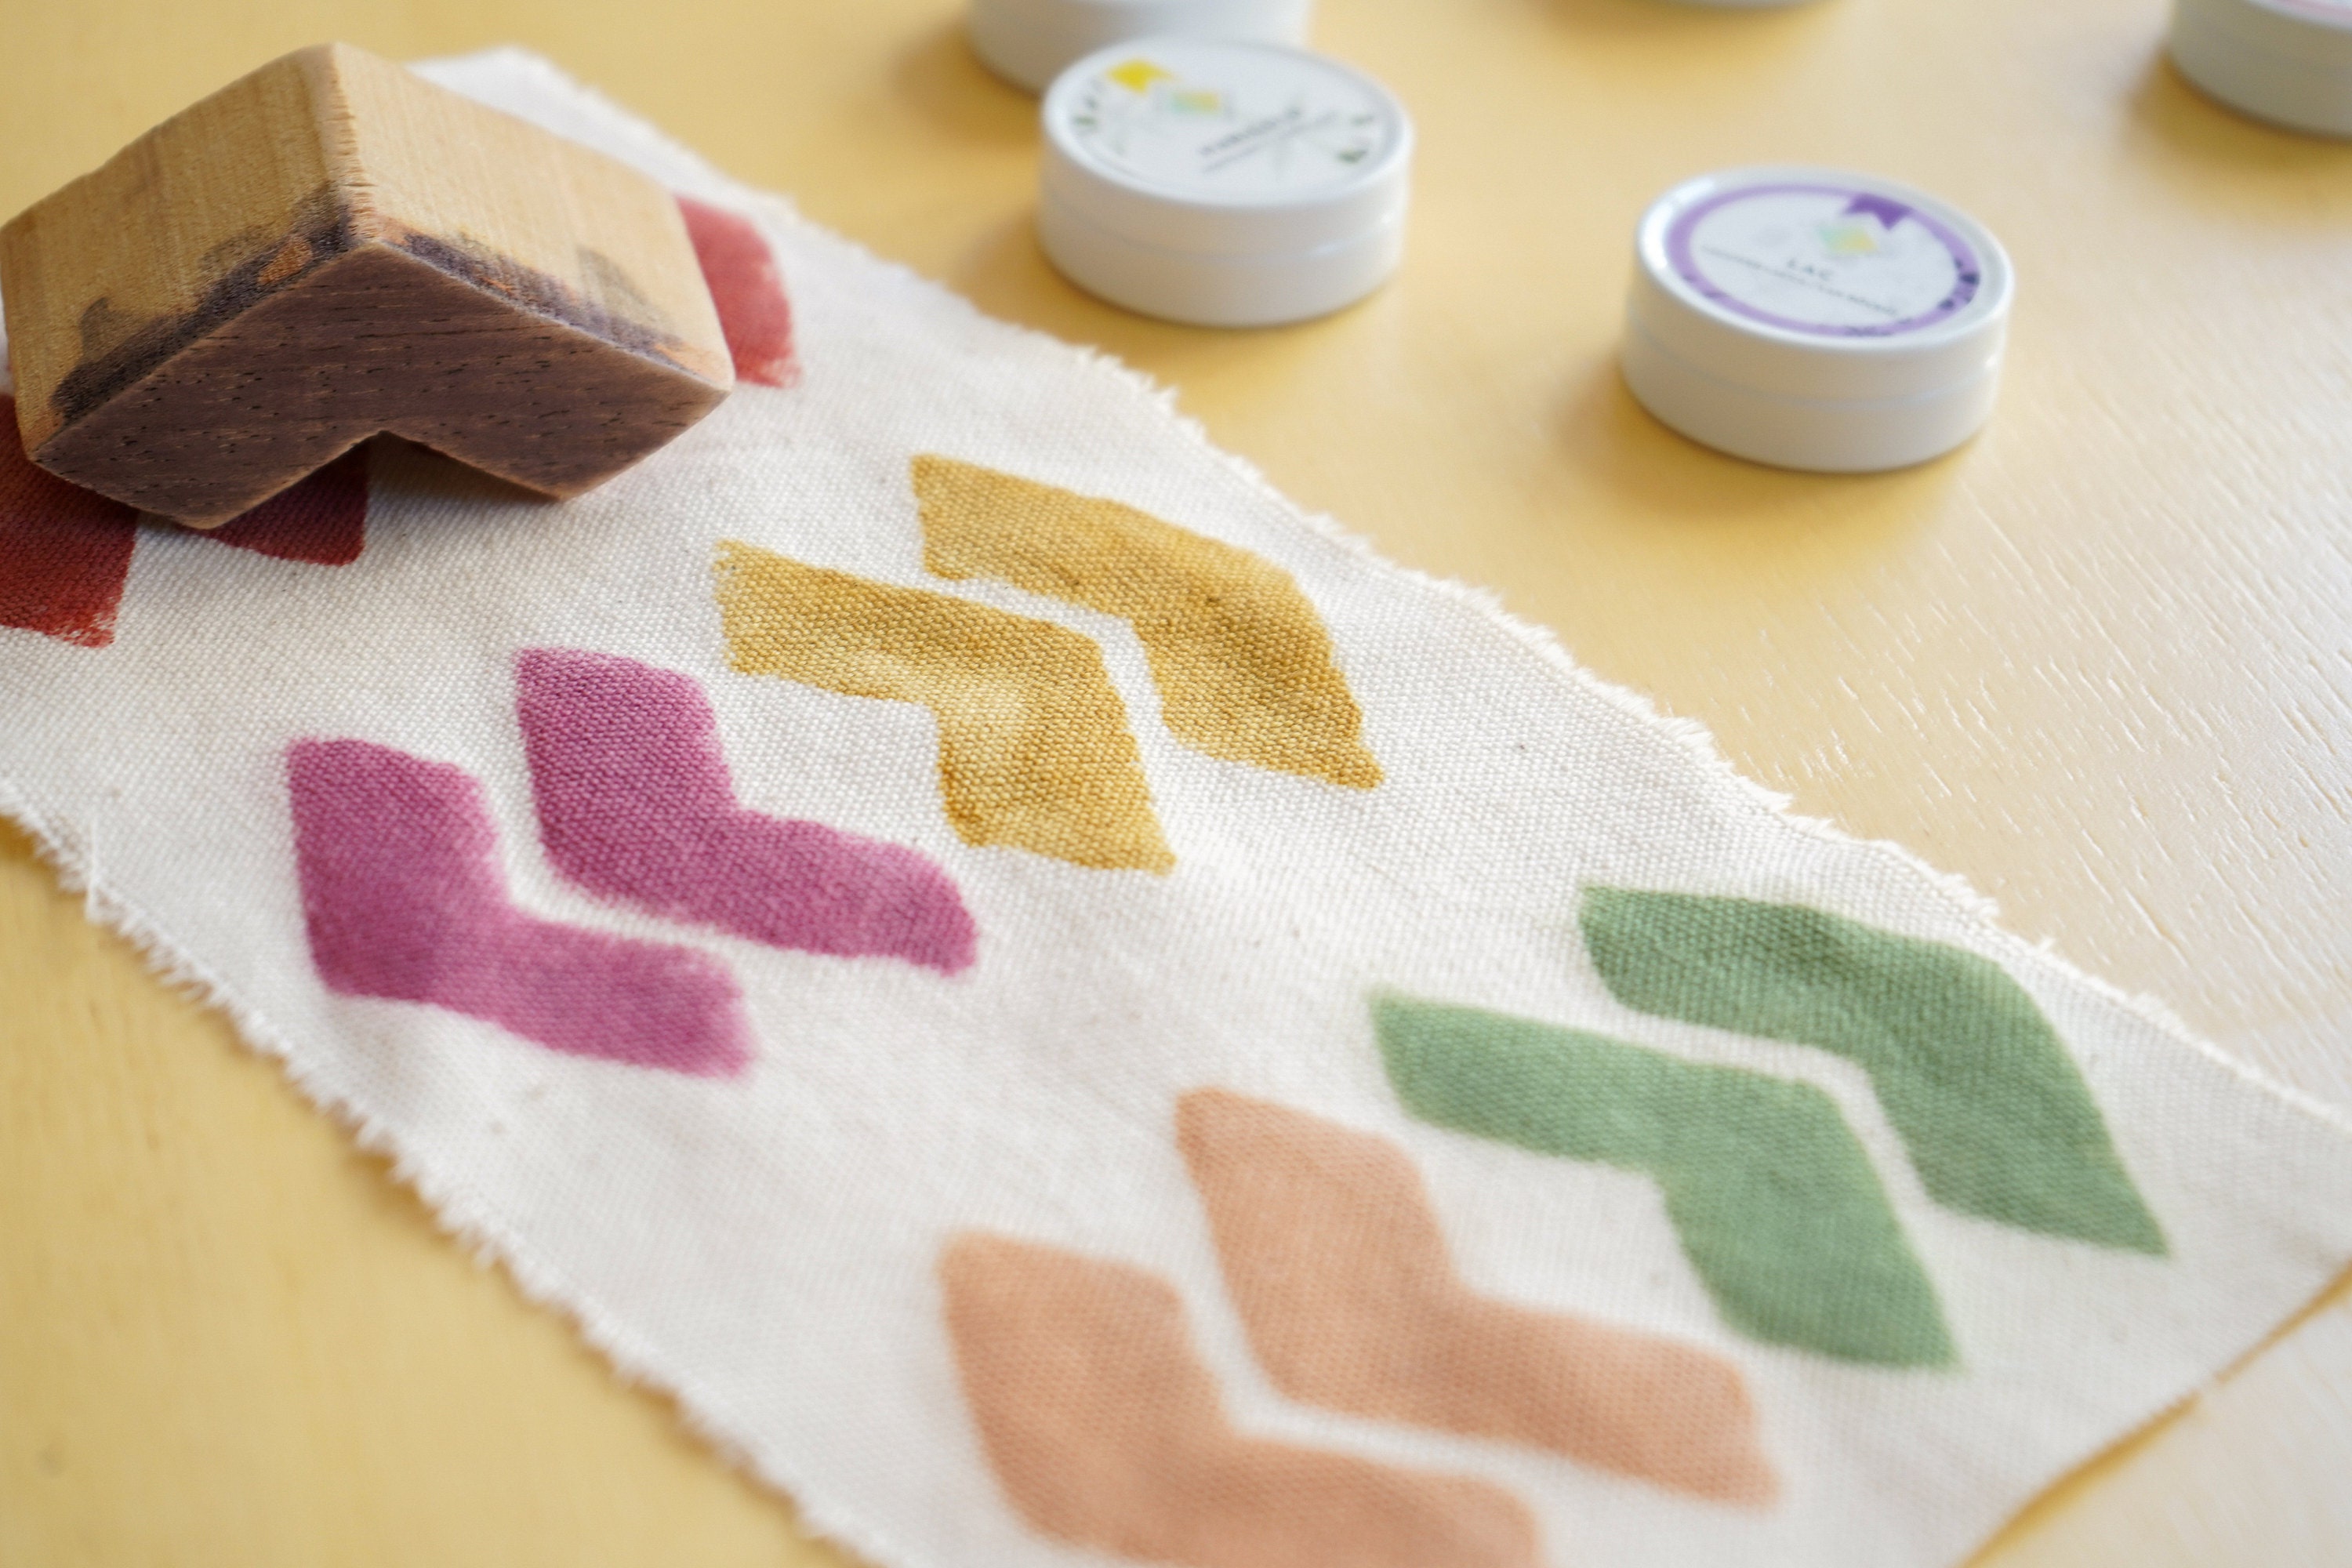
In summary, printing with natural dyes is definitely possible and can be a fun and rewarding process. By mordanting the fabric first, and then preparing the dye using natural dye extract and guar gum, you can achieve beautiful, unique results using a variety of printing techniques.
Our Printing with Natural Dyes Kit makes it easy to get started and includes everything you need: natural dye extracts, mordants, recipes, and instructions for printing applications on cellulosic (plant) fibers.
We hope this blog post has been informative and that you'll give printing with natural dyes a try. It's a fun and rewarding process that yields beautiful, unique results.
