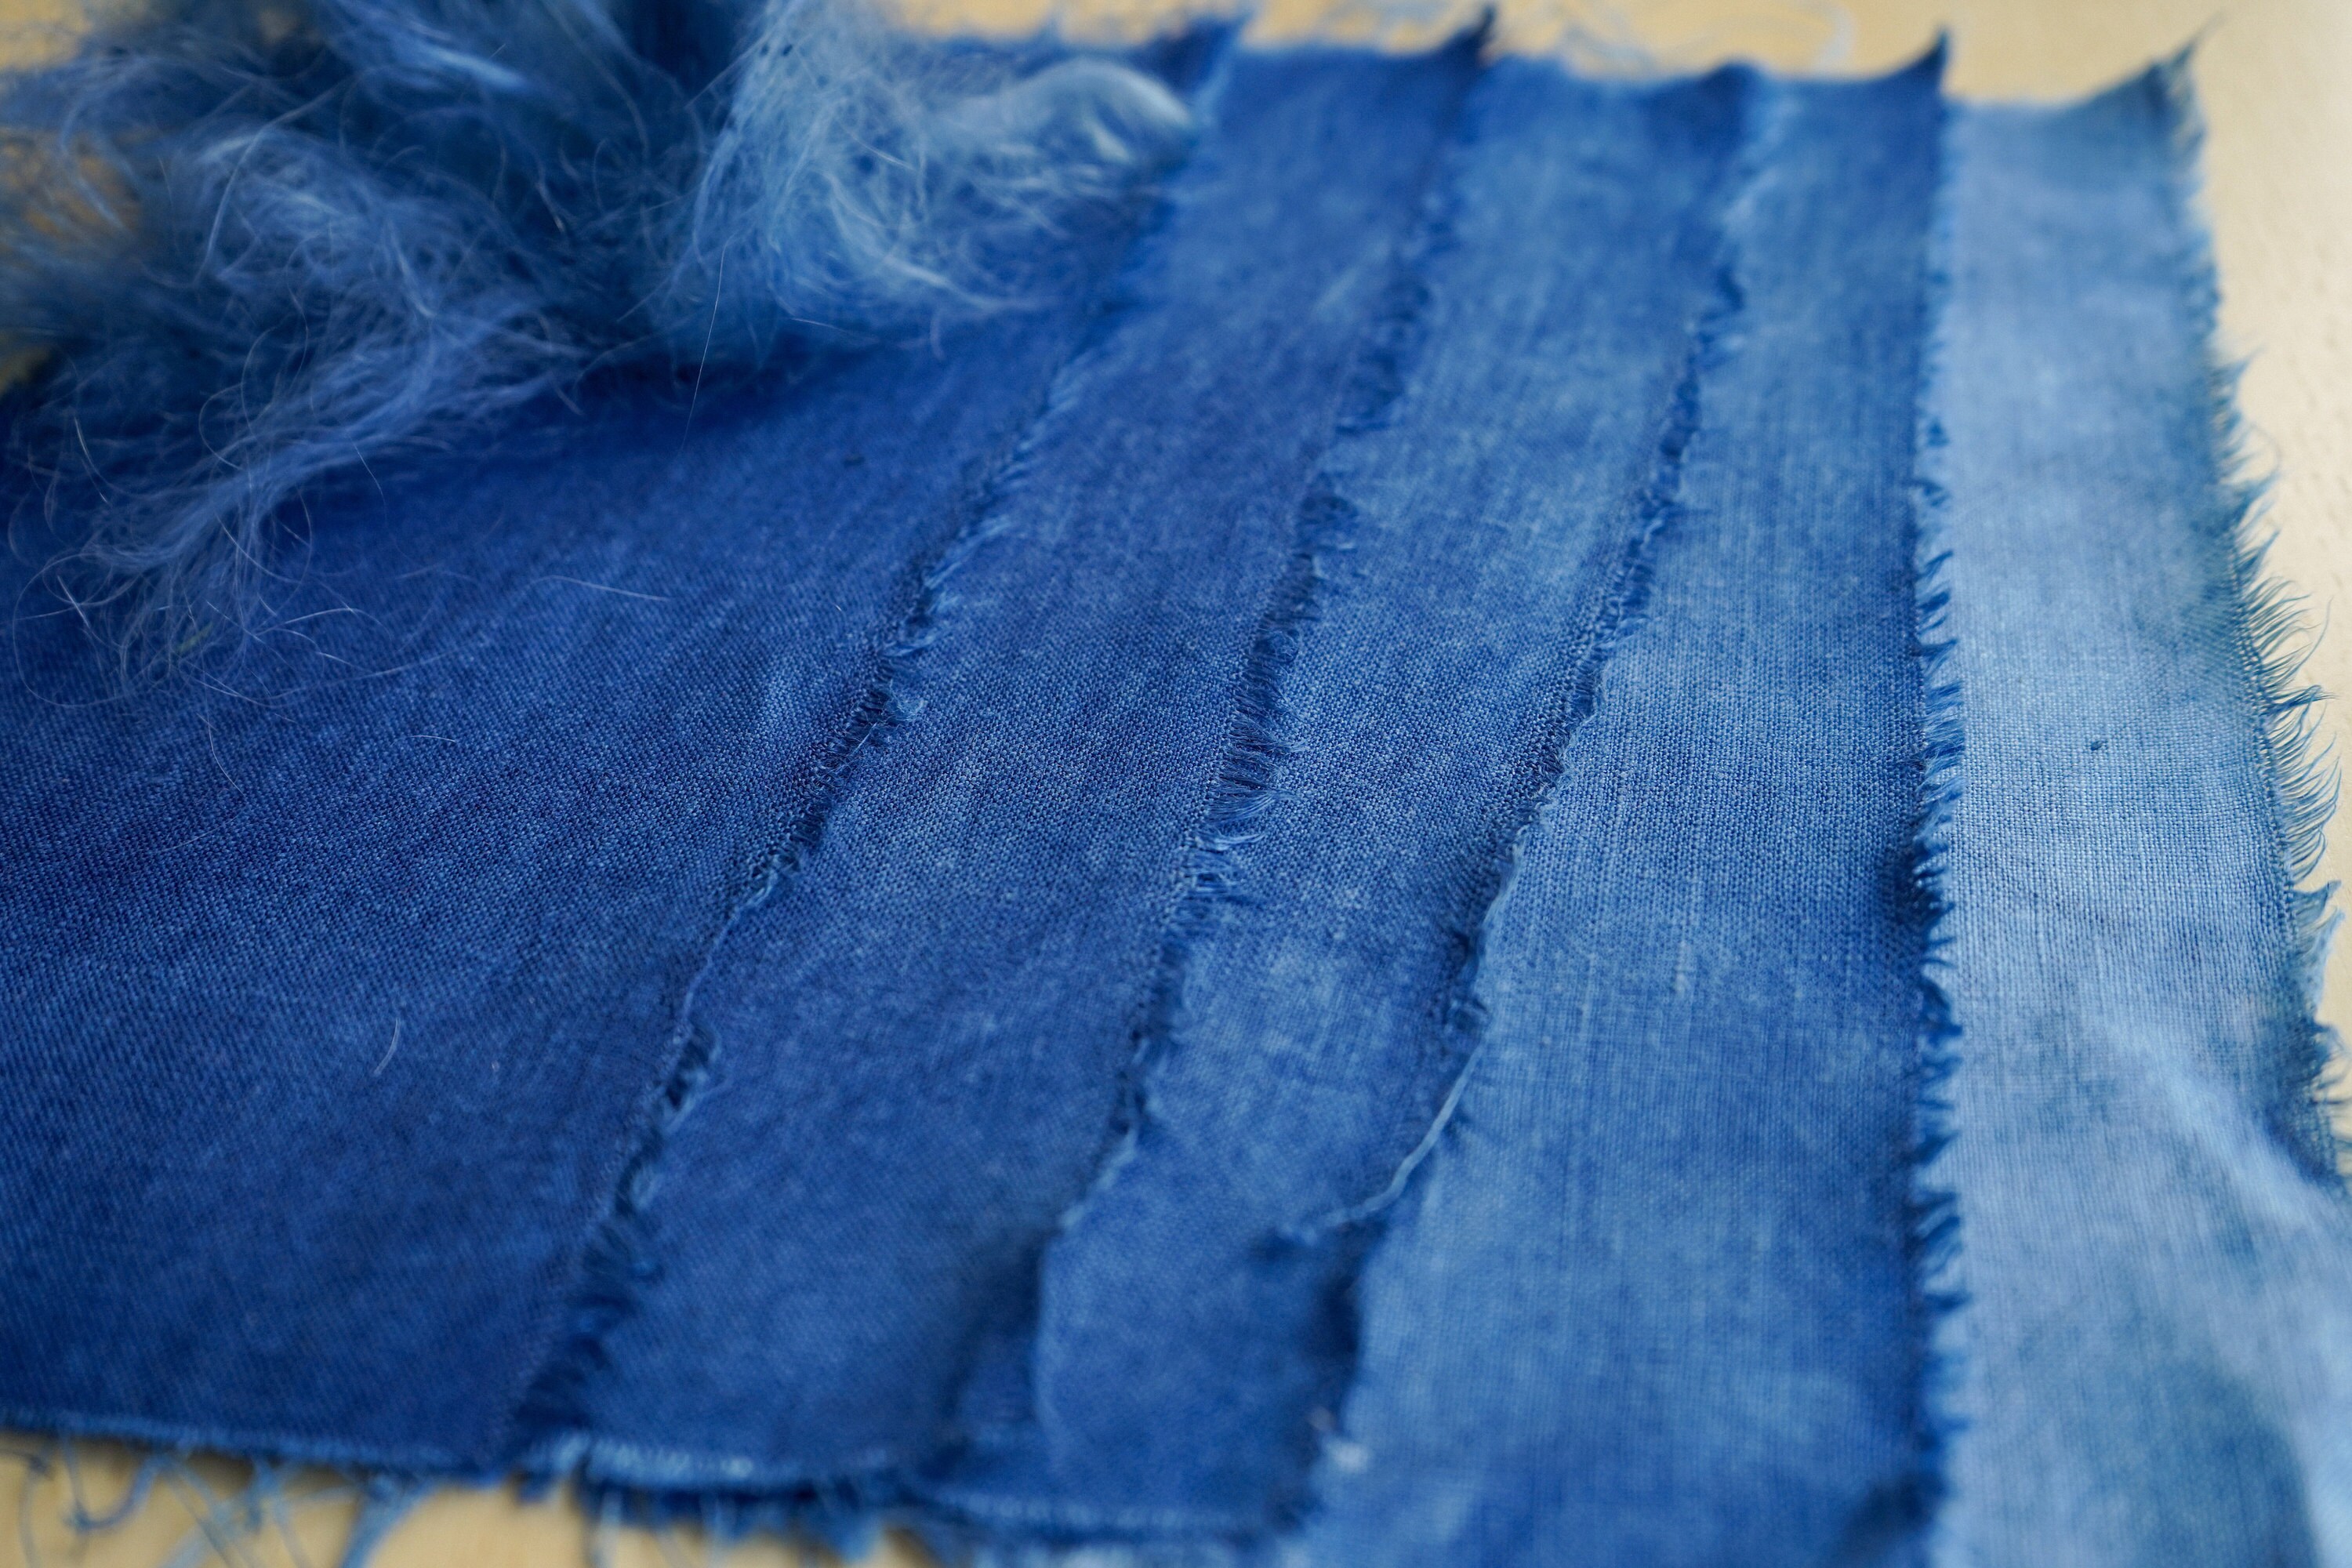
Unlike other natural dyes, indigo offers a unique range of blue and blue-purple shades that can be difficult to replicate with other natural materials. In our early days of natural dyeing, we may be drawn to fruits, roots, seeds, and leaves that contain anthocyanins like purple cabbage, black carrots, black beans, purple basil, and black mulberry. However, these materials are sensitive to pH and light, causing the color to fade quickly, especially on cellulosic fibers like cotton. Indigo is the only natural blue dye that will yield satisfactory results.
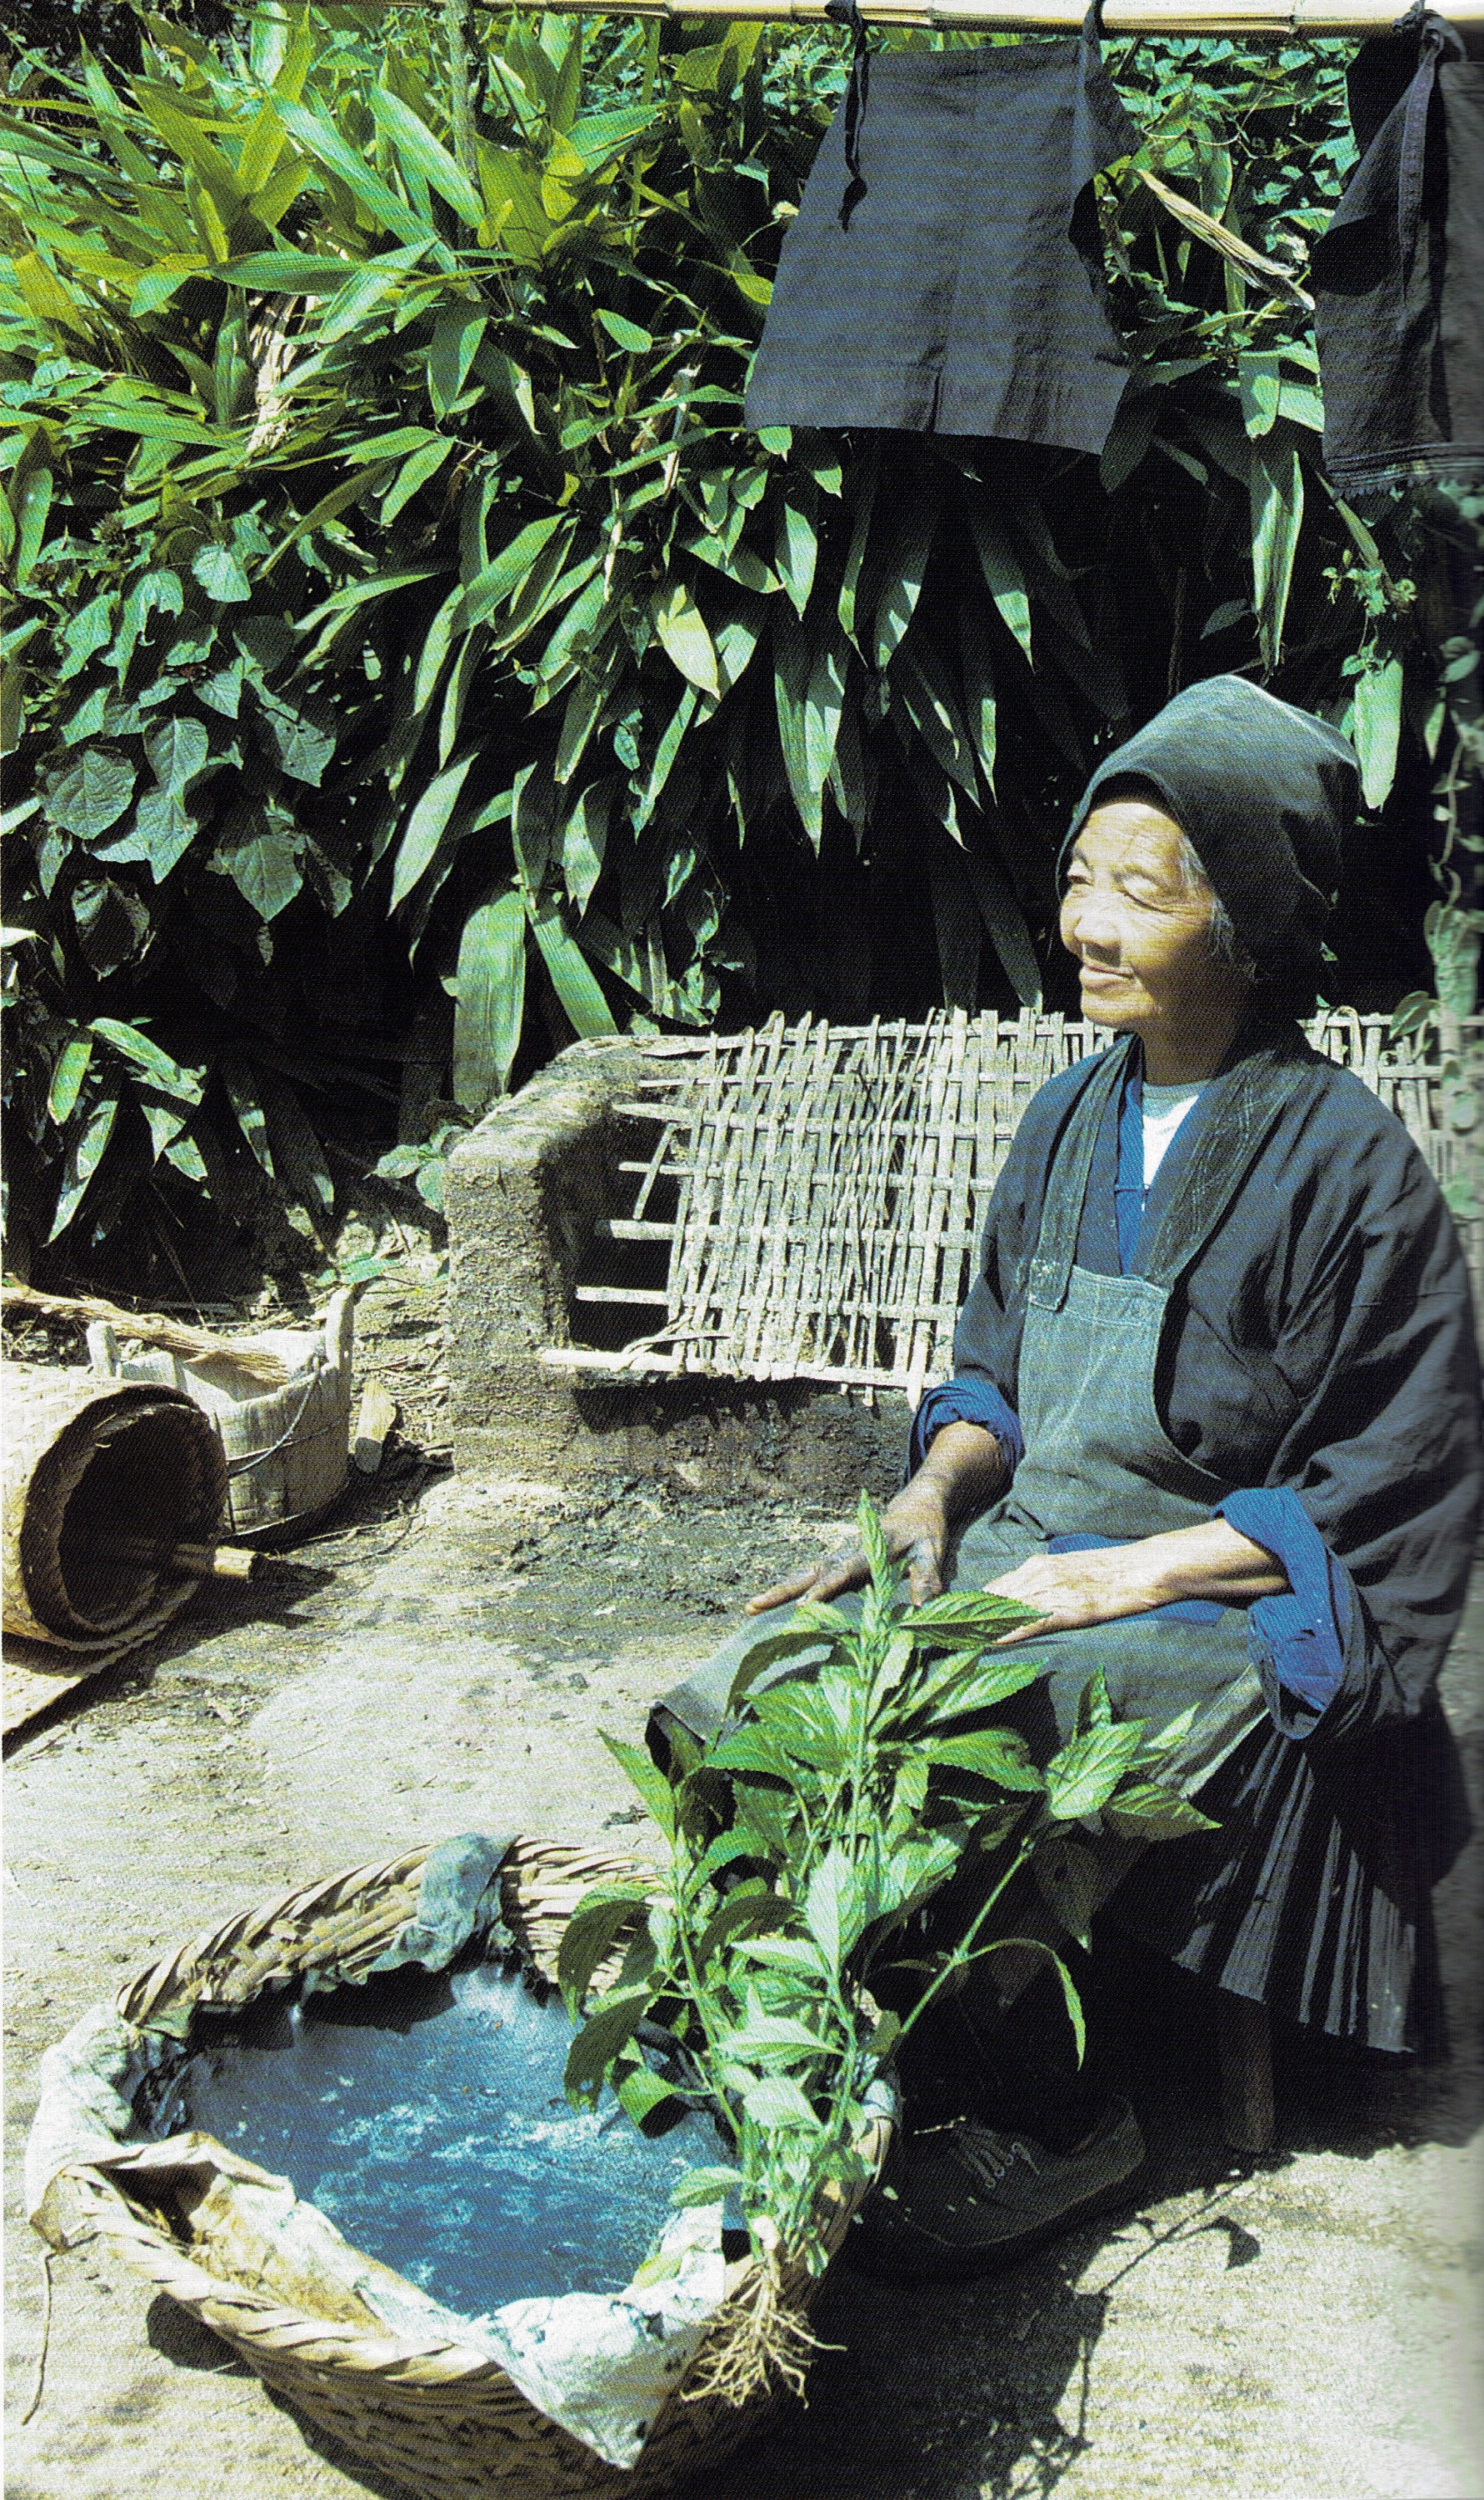
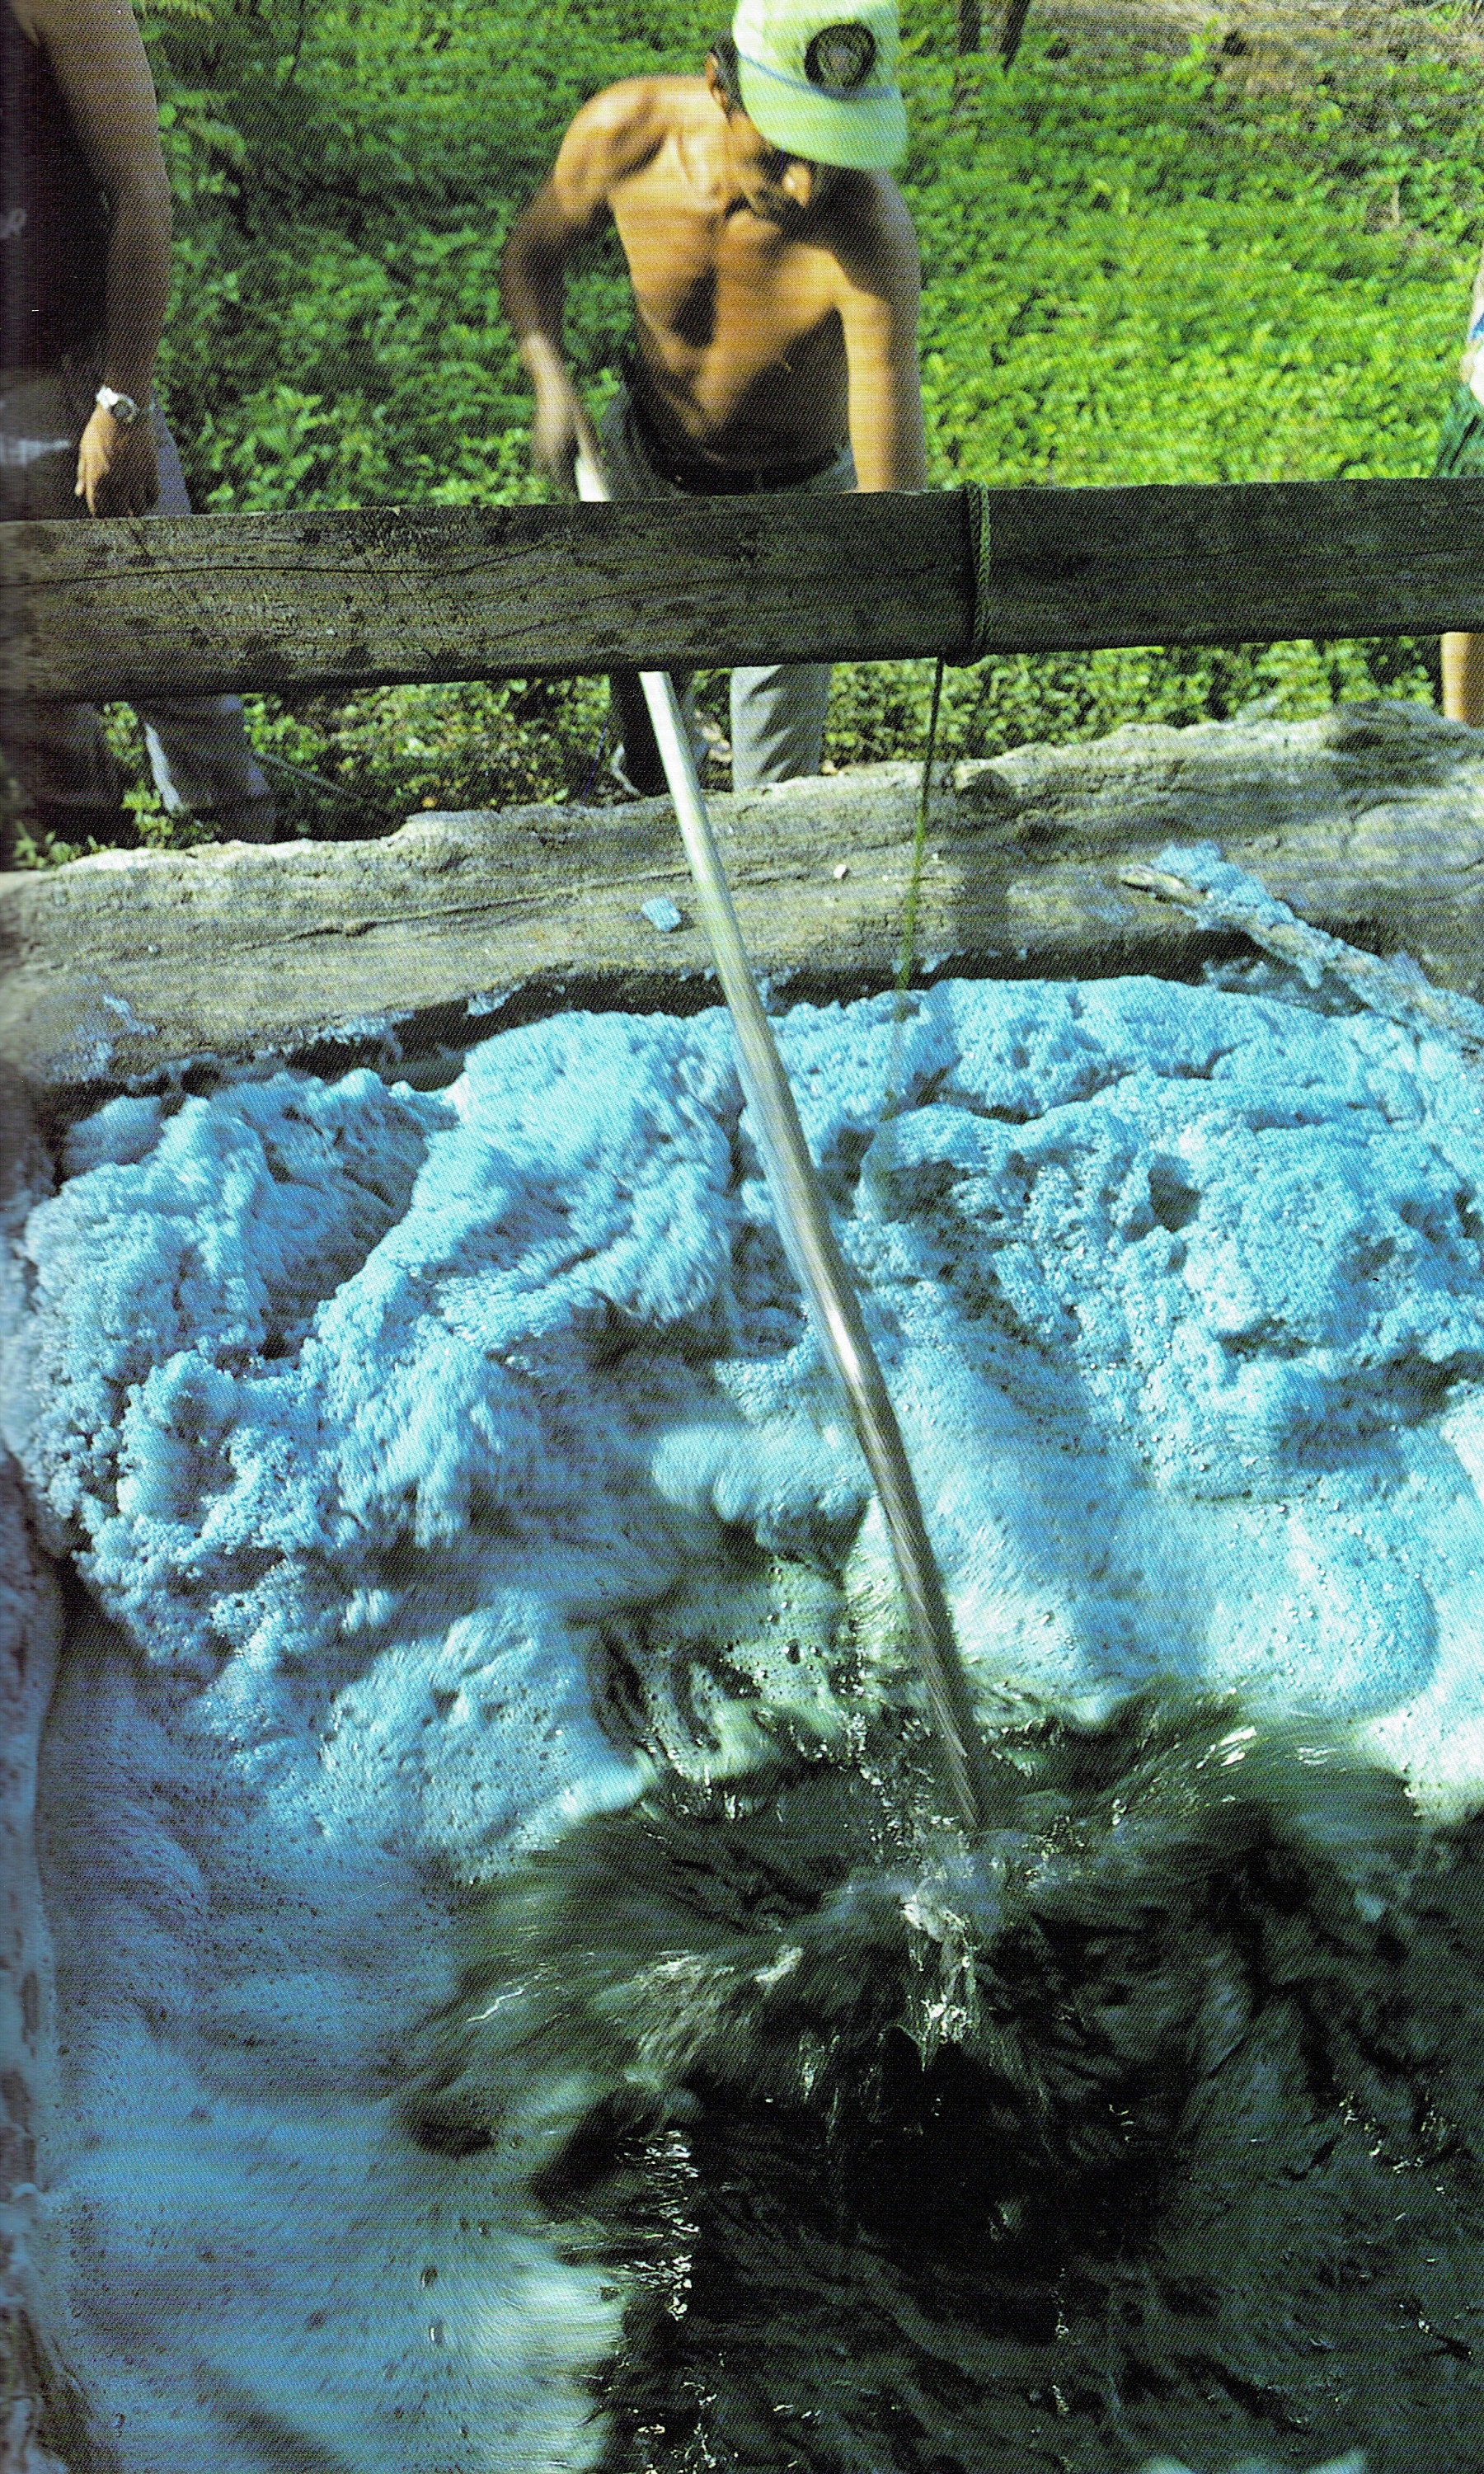
Indigo is not only the name of the plant that contains the most indigo dye but also the compound that gives us the blue color. Various plants contain the indican compound, which is a precursor to indigo, in their leaves. Indican is a colorless, water-soluble amino acid derivative. When the leaves are fermented in water, the indican converts first into indoxyl, and then into indigotin, which precipitates as blue particles that are insoluble in water. This is the powder indigo dye that we use. It is obtained by fermenting the leaves of the indigo plant.
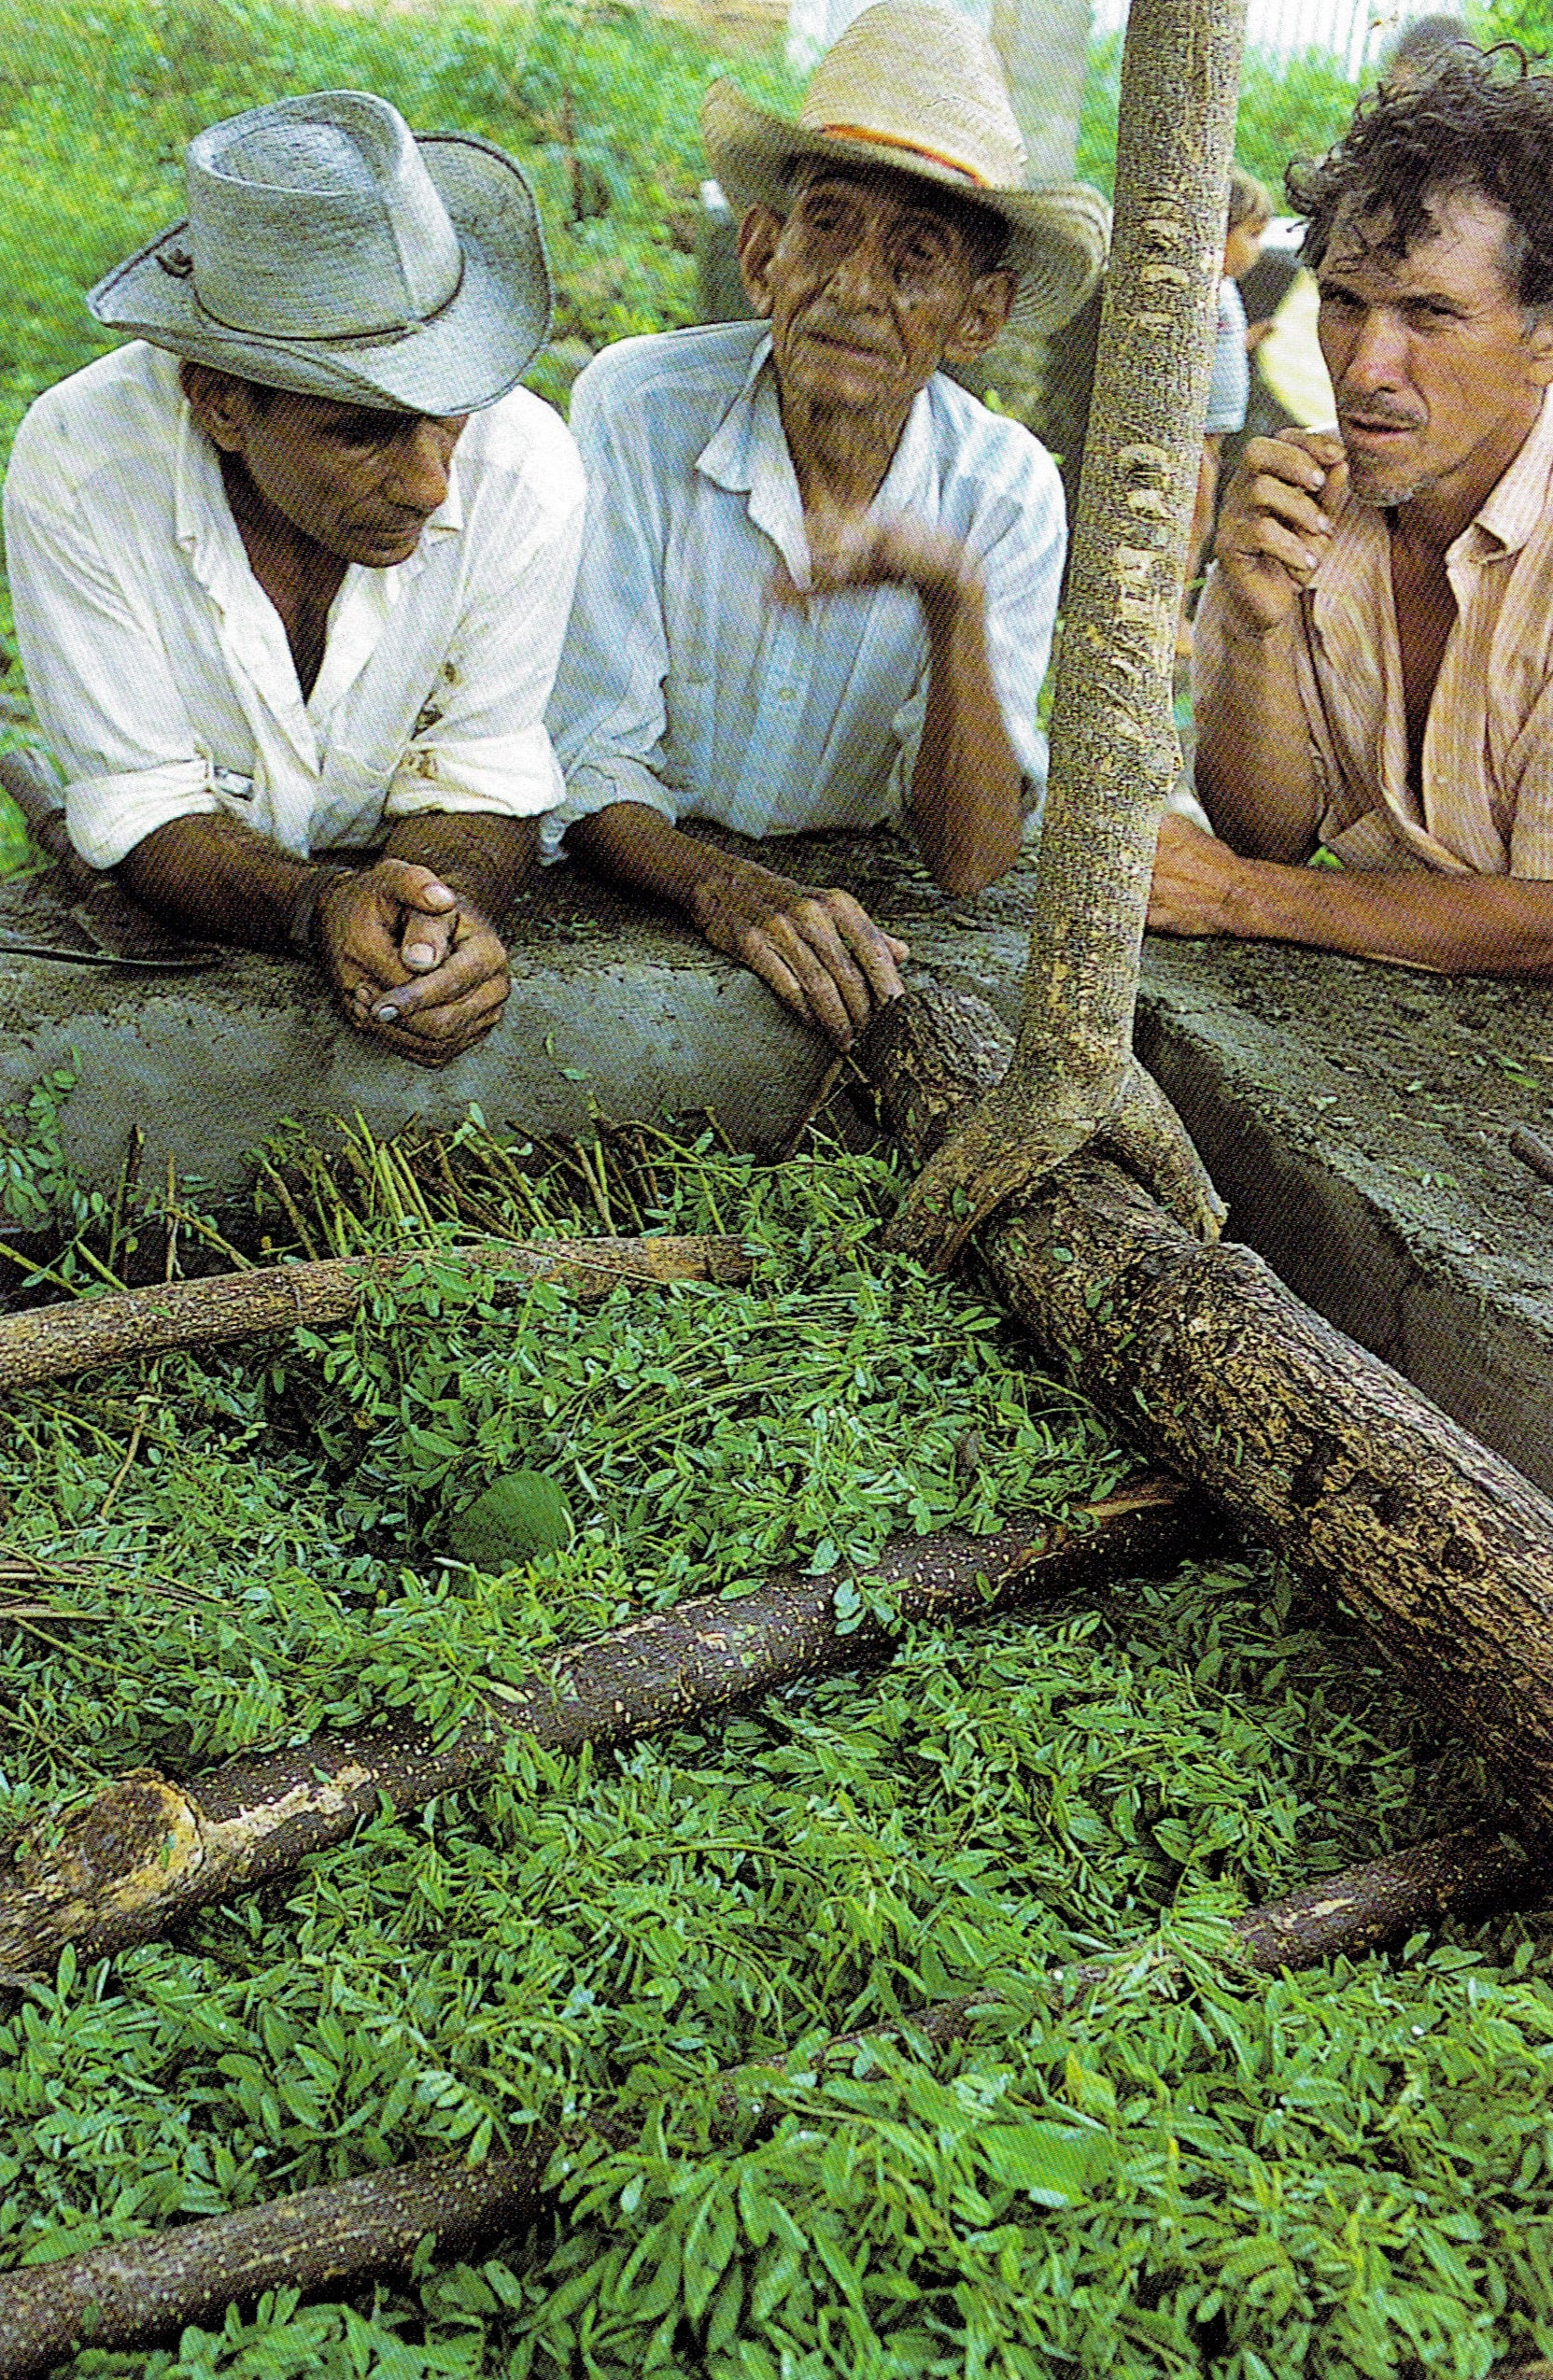
The plant with the highest concentration of the indigo precursor indican in its leaves is the Indigofera tinctoria, commonly known as indigo. This plant is native to South Asia, particularly India, and the word "indigo" is derived from the Latin "indicum" meaning "from India". However, other plants are found in different regions around the world that also contain indican. For example, the woad plant (Isatis tinctoria) that is found in Turkey and spread to the European continent, is one of them. On the map, you can see examples of plants that contain indigo, classified according to their dominant regions.
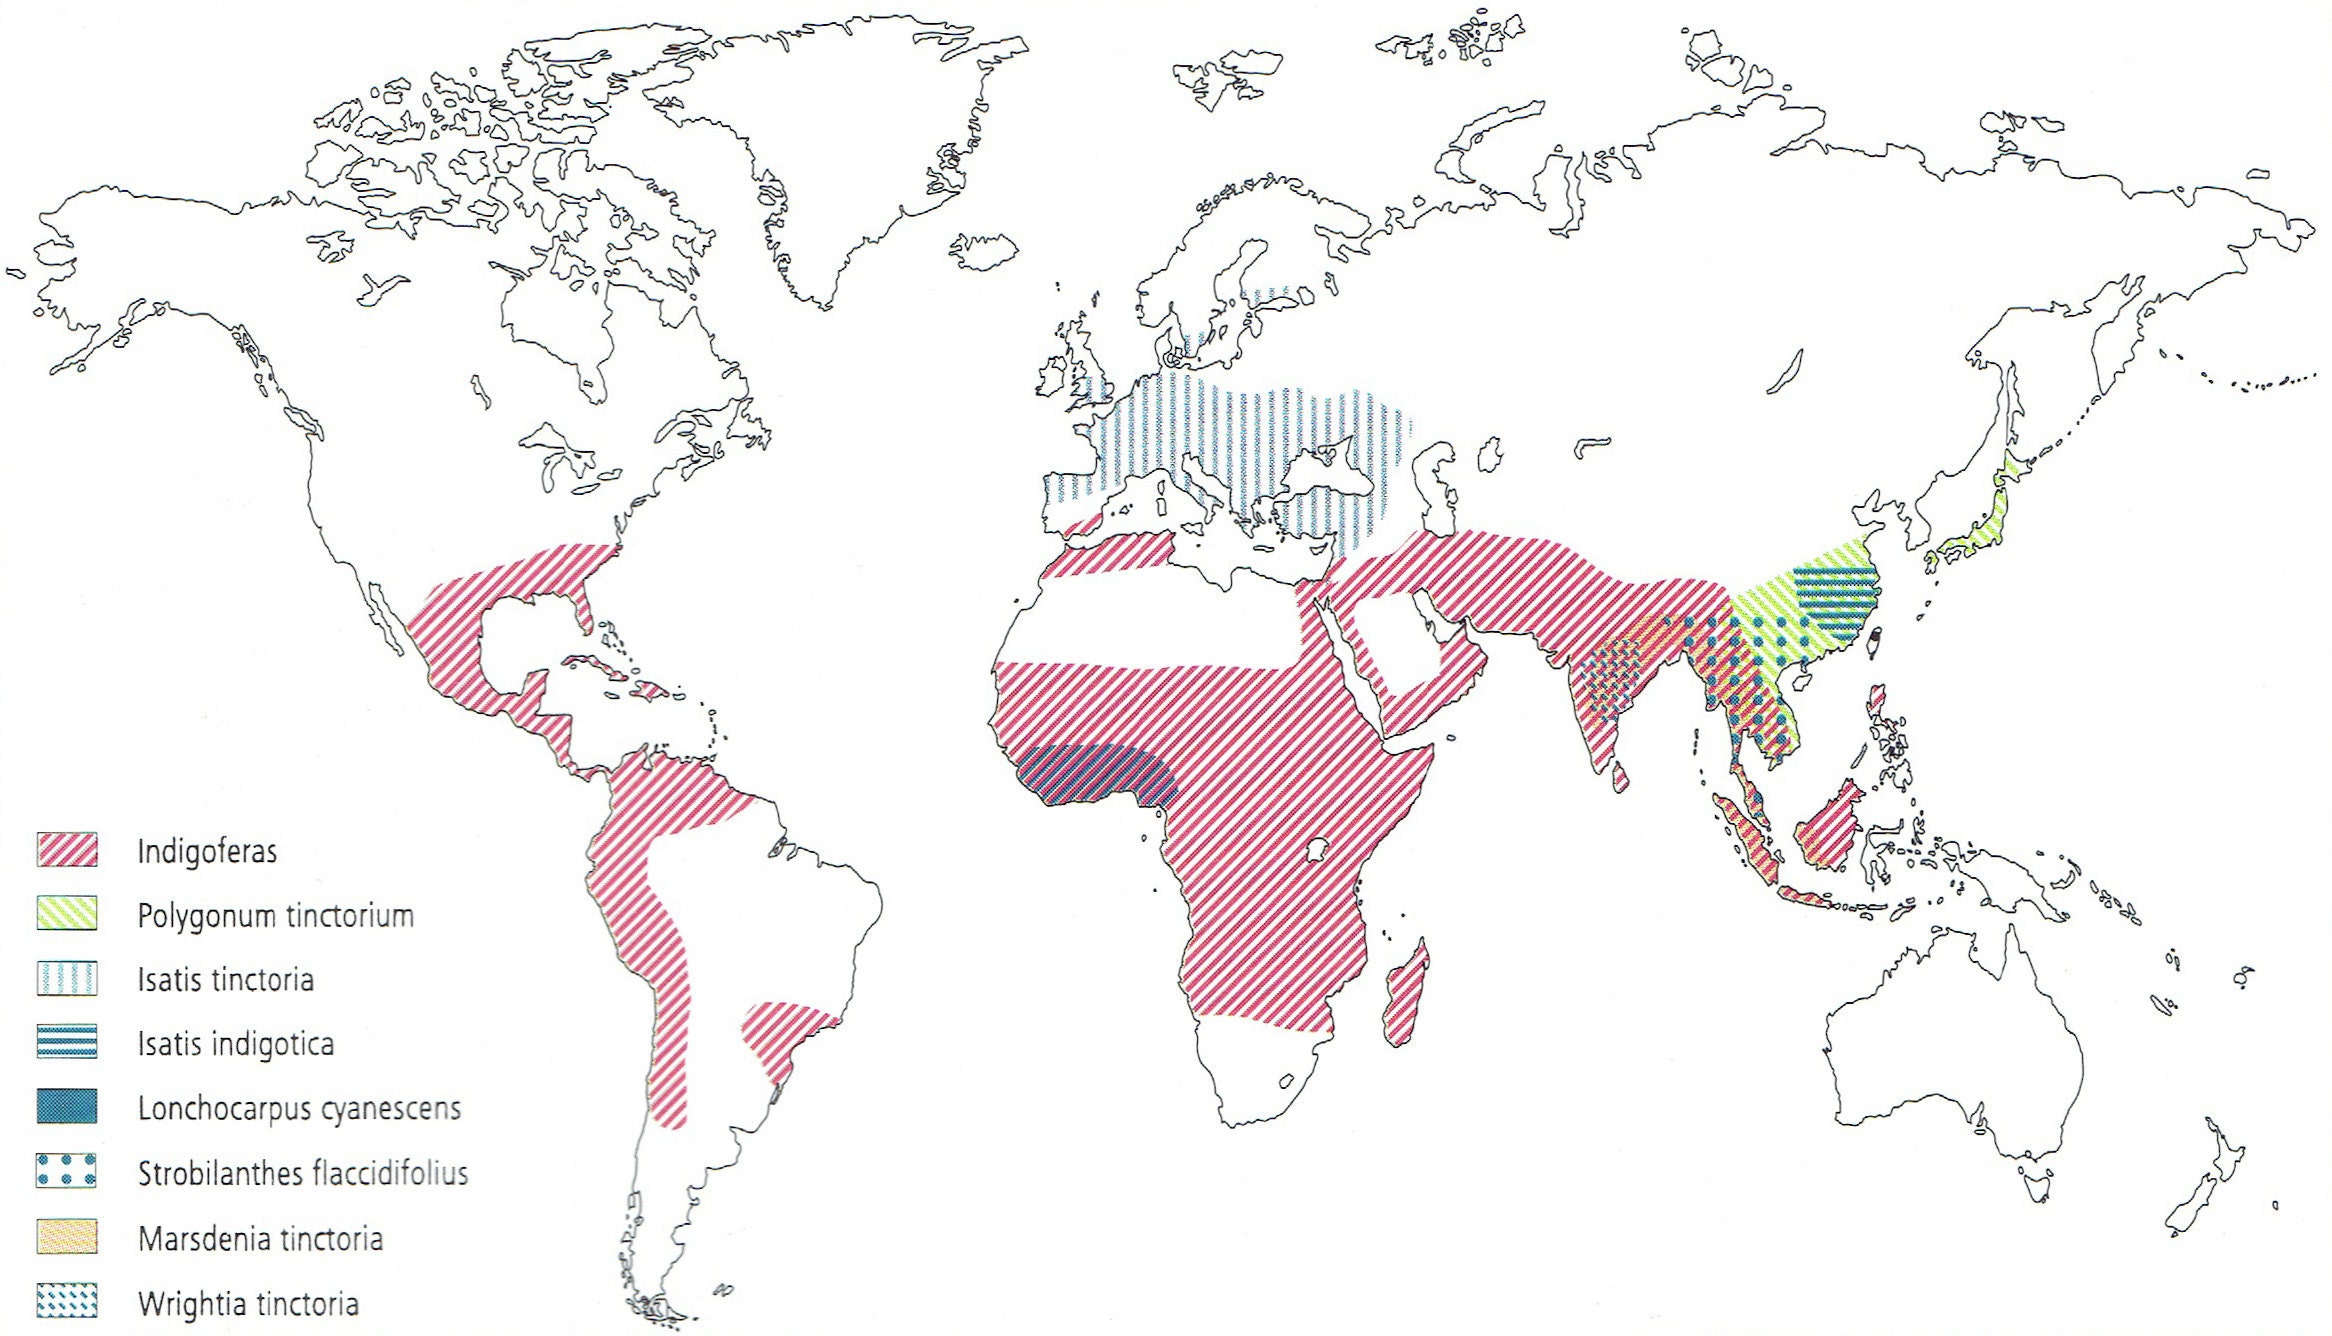
Indigo dye is one of the oldest dyes used by humanity. The earliest evidence of indigo dyeing is from around 2000 BC in Egypt, where blue stripes were found on linen fabrics used to wrap mummies. By the 1st century BC, indigo was being cultivated in its homeland of Southeast Asia, particularly in India. India has a long history of producing textiles, and these products were transported to other regions via the Silk Road and other trade routes. In ancient Greece and Rome, textiles dyed with indigo were also popular, but in these regions, woad was used to obtain the indigo. Woad was more readily available, but it was more difficult to extract the indigotin compound from the leaves as it was found in lower concentrations.
As time progressed, the maritime trade routes between Europe and Asia made it easier for Europe to access high-quality indigo. Britain, which controlled India, was able to benefit from importing indigo from Europe, as well as using the dye in its burgeoning clothing industry. However, when Napoleon placed an embargo on British imports and encouraged the French to produce woad for army uniforms, woad production in Europe was revived. Towards the end of the 19th century, two events had a significant impact on the history of indigo.
The first of these events was in 1873 when Jacob Davis and Levi Strauss & Co. patented workwear made from indigo-dyed blue denim reinforced with metal rivets. This sturdy suit was marketed to farmers, workers, and cowboys. The distinctive pale blue color of the denim fabric eventually became a fashion style. The other event was when Adolf von Baeyer synthesized indigo in 1897. Today, synthetic indigo is used extensively, while natural indigo production is done on a smaller scale, primarily in India and Africa. The indigo we sell is produced by an organic-certified manufacturer in India. Our shop link is here.
Now that we have some idea of what Indigo is and its history, let's move on to how we can dye with it.
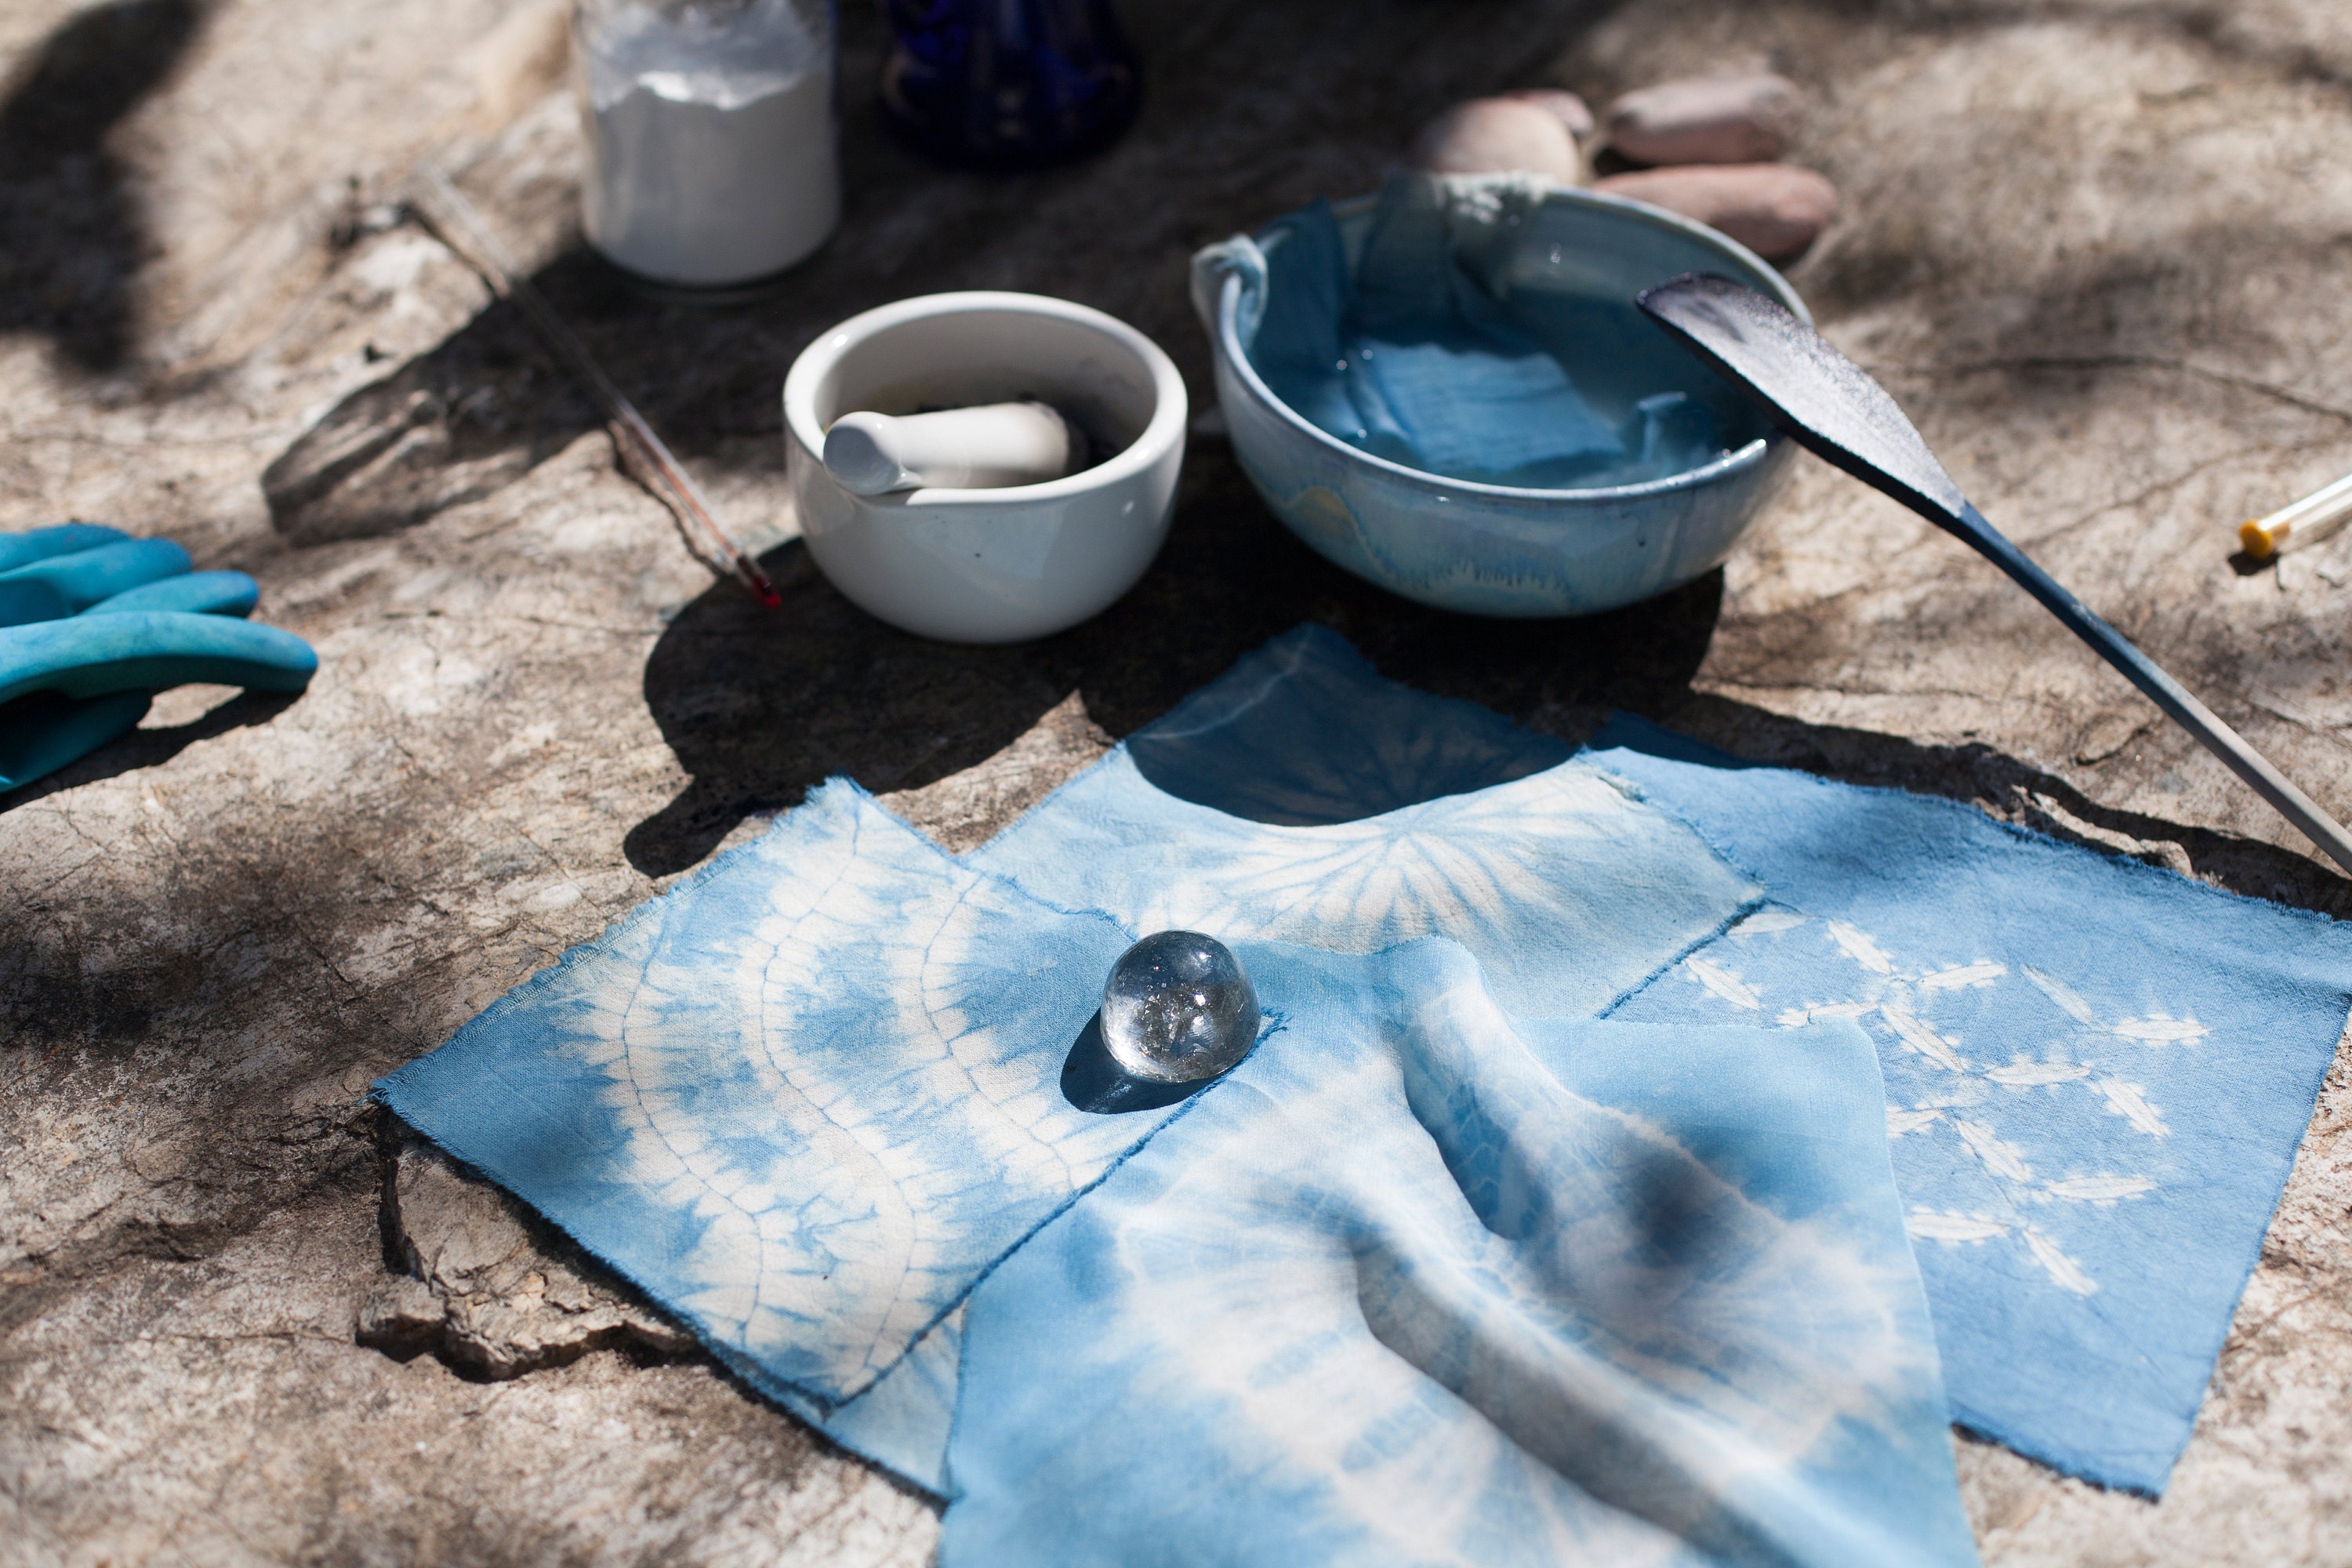
Indigo dye in powder form obtained by fermentation from the leaves of the Indigofera tinctoria (indigo) plant is the inactive form of the dye. To use it for dyeing, it needs to be transformed into its active form through a series of chemical reactions. This process is traditionally done in vats, which is why indigo dyeing is also called vat dyeing. In vat dyeing, it is not necessary to apply mordant to the fabric. You can check our "Getting Started to Natural Dyeing" article for more information on this subject.
Before dyeing with indigo, it is important to thoroughly clean the fibers to ensure homogeneous and permanent dyeing. Cellulosic fibers such as cotton and linen should be washed by boiling in washing soda, while protein fibers such as silk and wool should be washed by boiling with soap. The fibers should be rinsed thoroughly and wet before dipping them in the vat.
We need to start preparing the indigo vat by deciding on the size and amount we will use for the dyeing. If our dyeing is only for a small trial or if it consists of small pieces, a small jar will suffice. The size of our dye vat should be determined by the size of the material we will dye, and it should be able to fit in the vat without getting stuck.
The second thing to decide on is the amount of dye to use. For indigo dyeing, it is recommended to aim for dark blues for permanent results. Using less dye and making short-term dips may result in light blues, but it will greatly decrease the dyeing quality and affect the permanence of the color negatively. Therefore, a sufficient amount of dye, such as not less than 10g of dye in vats up to 5 liters, and 20g being ideal, should be used. As the volume of the vat increases, so should the amount of dye, as the amount of fiber being dyed will also increase proportionally.
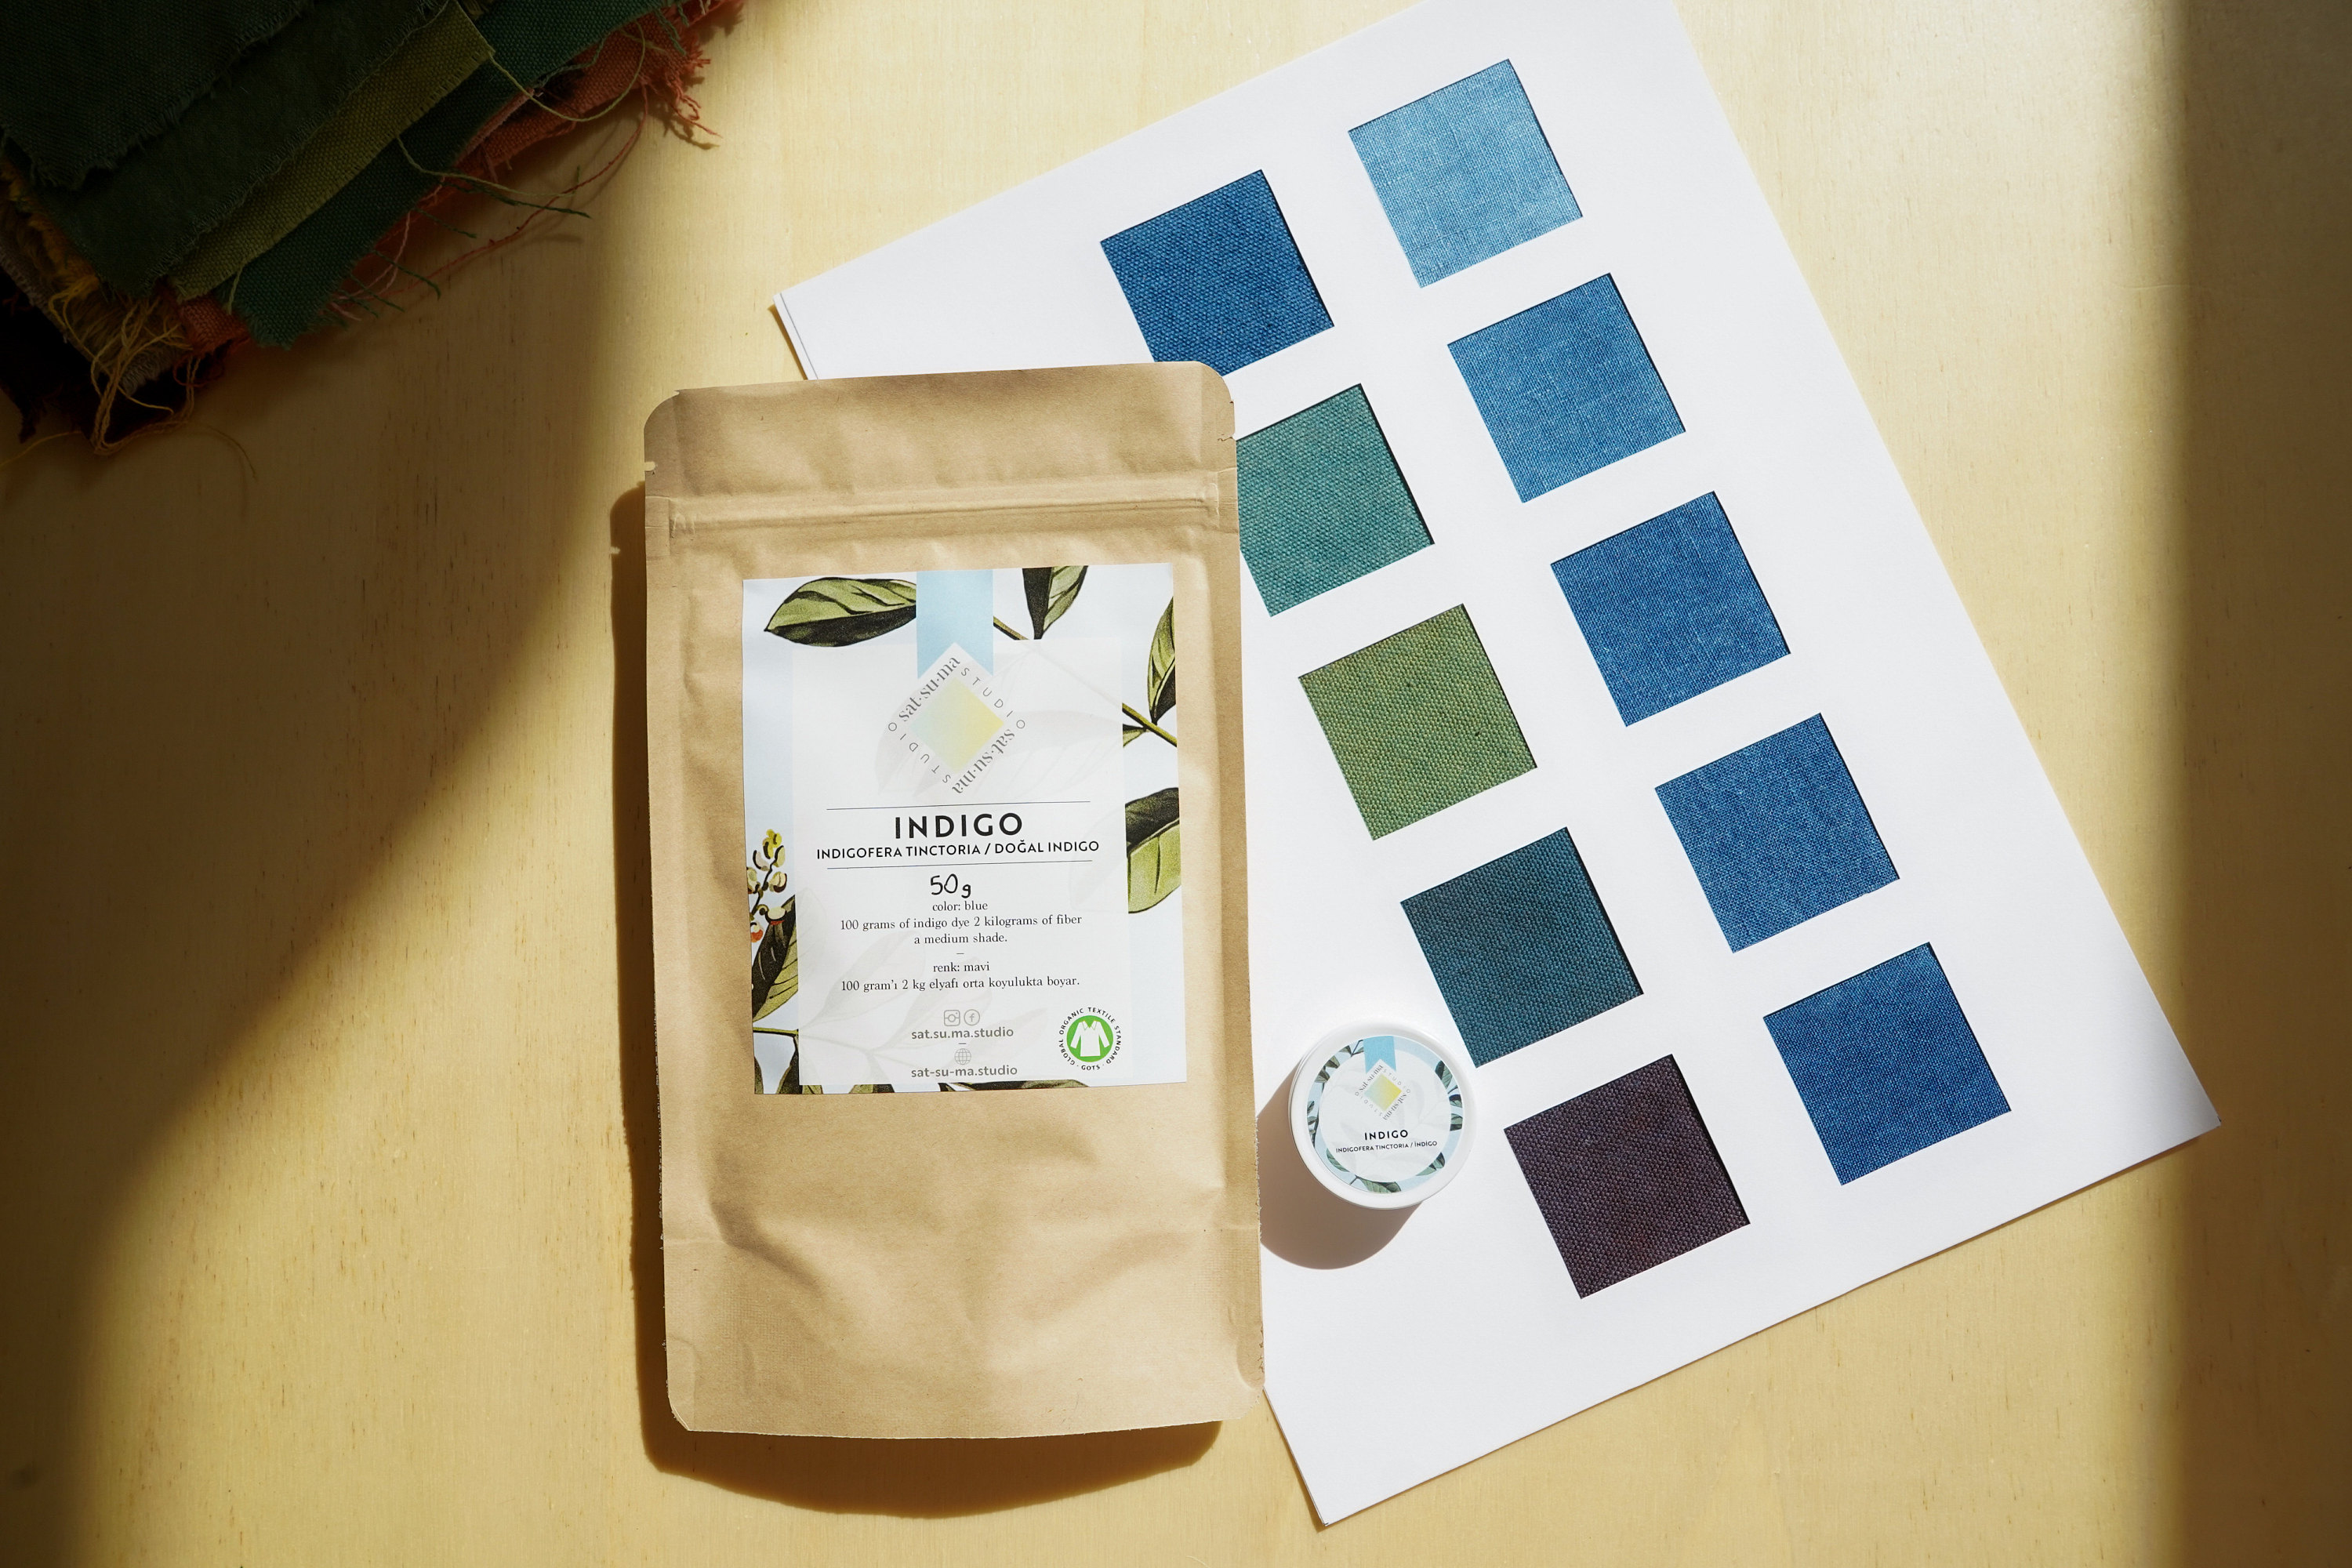
The process of converting indigo powder into its active form involves a series of steps. The first step is to dissolve the indigo powder in water, this allows for easy mixing and application. Next, a reducing agent is added to the mixture. This agent helps to activate the indigo and allows it to bind to the fibers. Once the reducing agent has been added, the pH level of the mixture is raised. This step is important as it helps to ensure the indigo will dye the fibers properly. Finally, the mixture is left to reduce, which is when the indigo becomes active and ready for dyeing. The sequence of actions should be followed as follows:
Soak indigo powder in water > Add reducing agent > Raise pH level > Wait for the mixture to reduce > Dye the fibers.
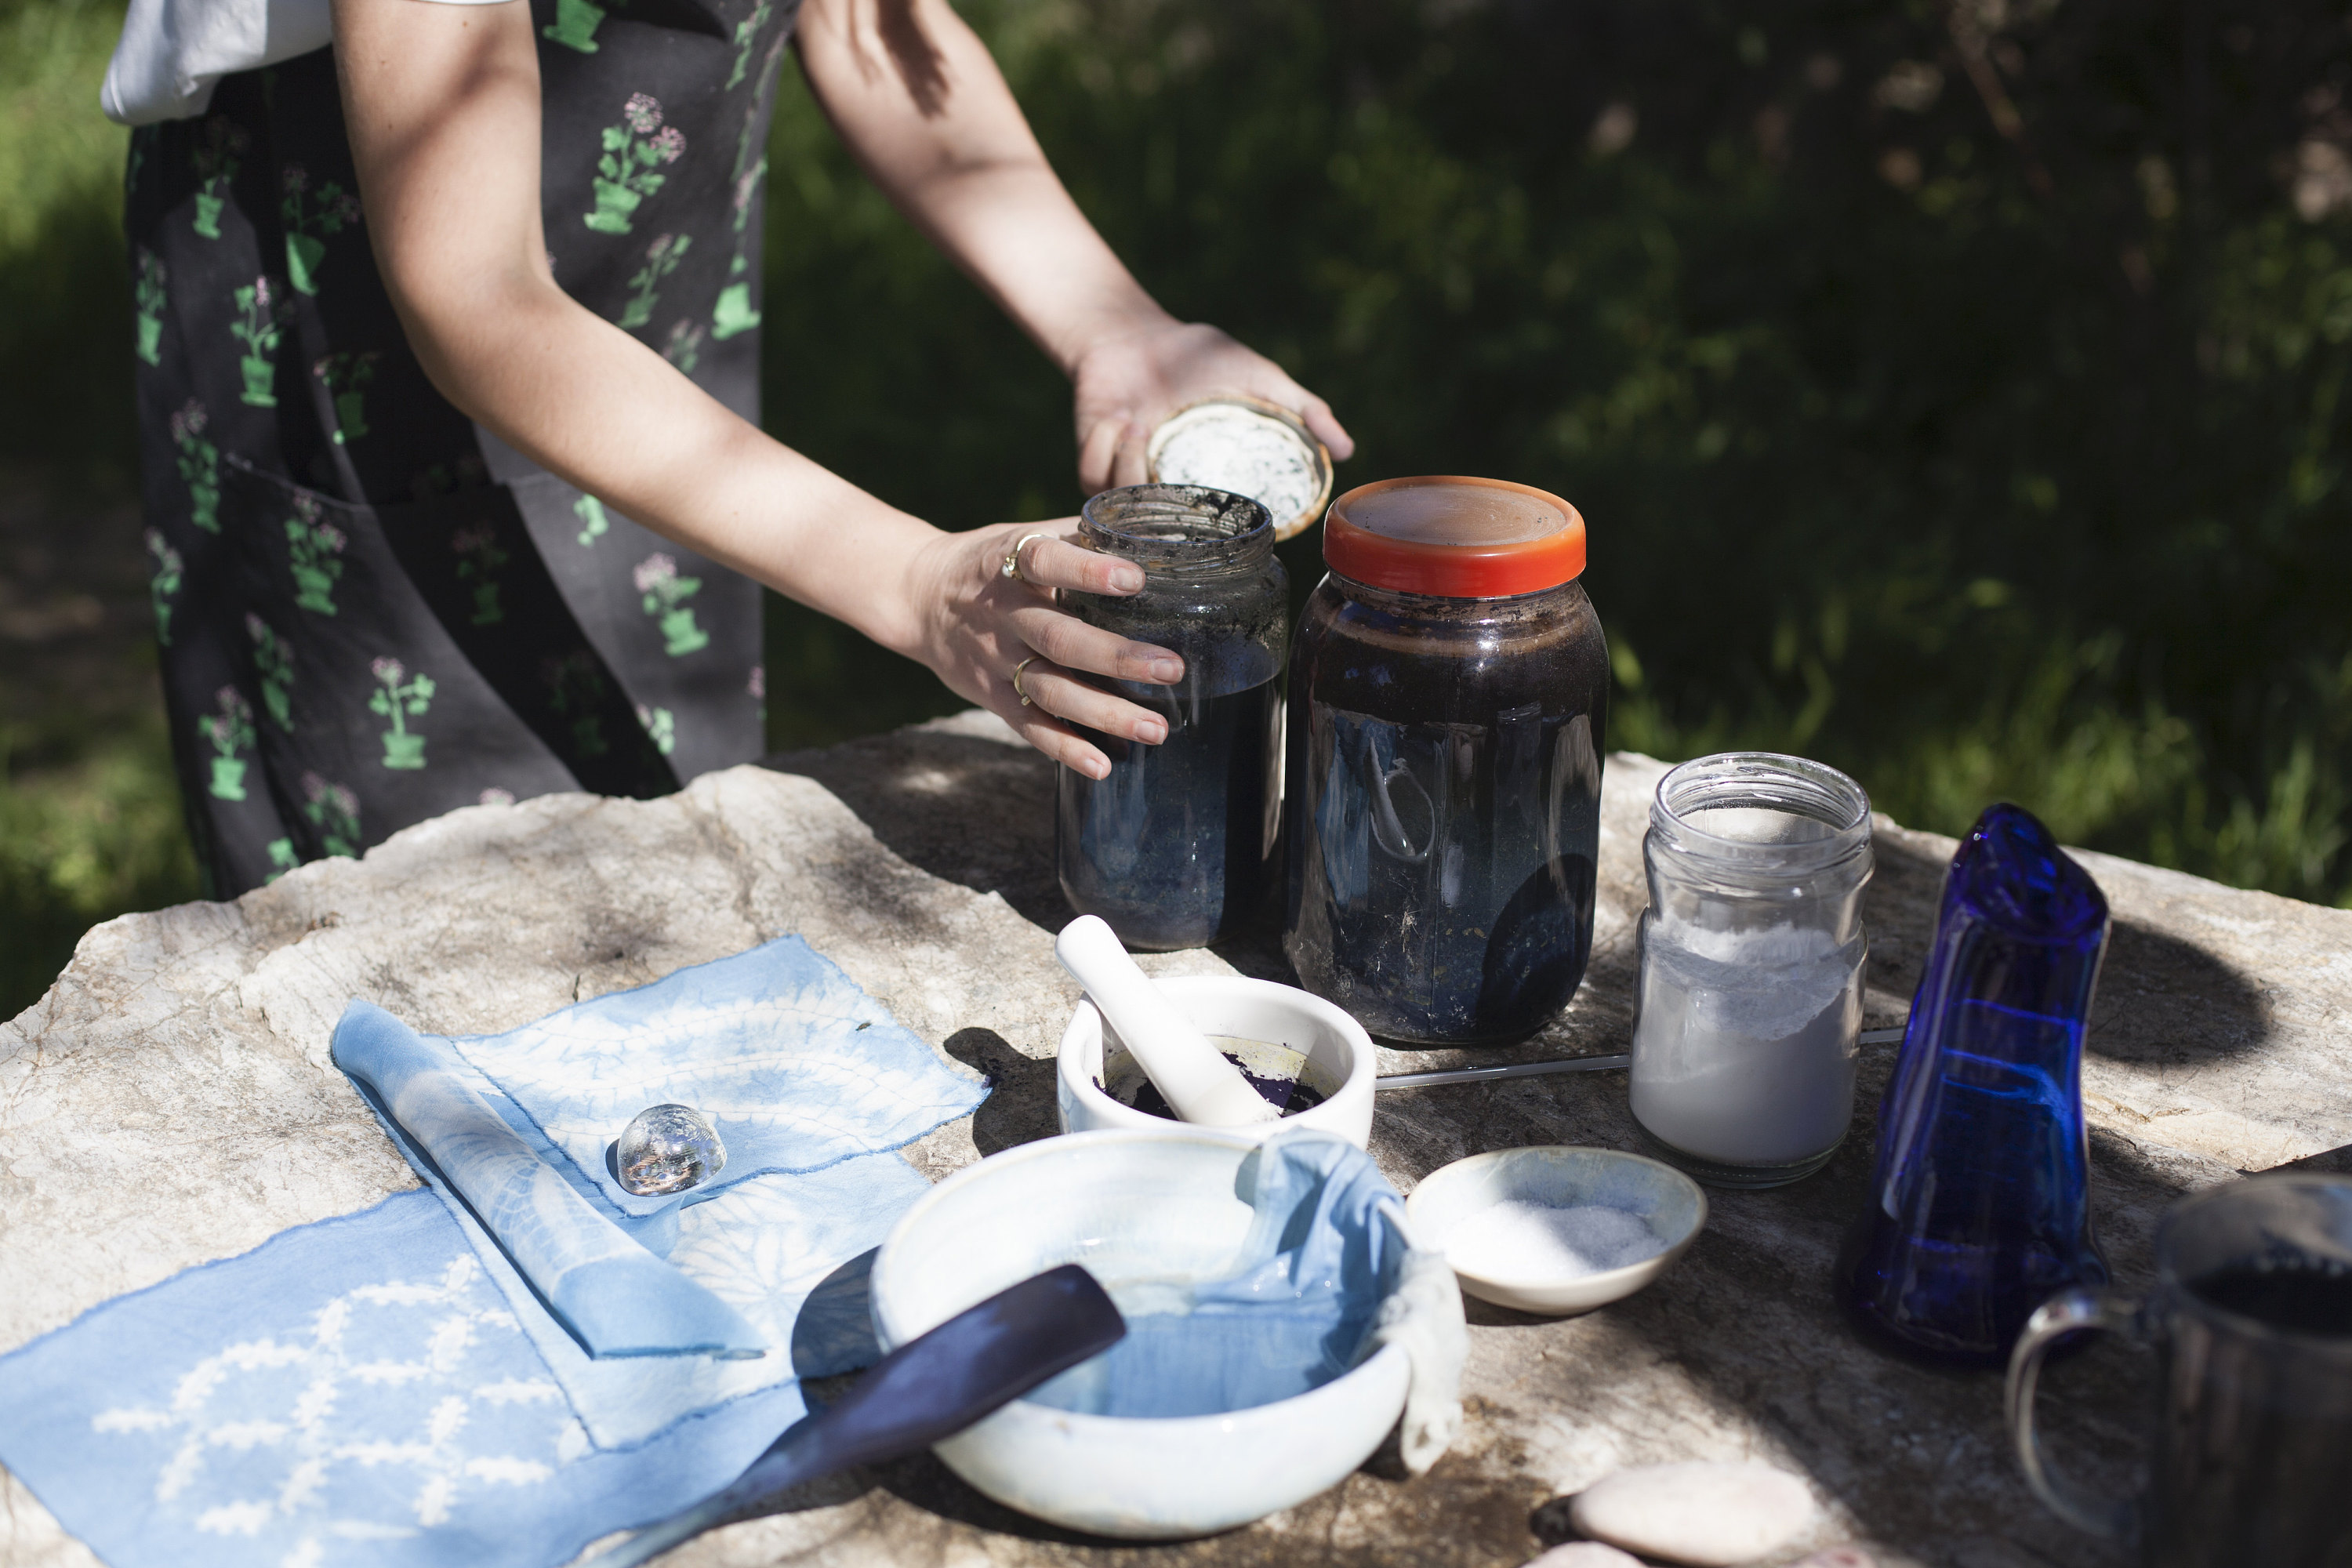
The first step in preparing the indigo vat is to soak the indigo powder in water. If you drop a few drops of water on the indigo powder, you will see that these droplets roll over the indigo powder instead of being absorbed by it. In other words, the first thing we need to do is to establish the relation of indigo powder with water. This can be done by adding a small amount of hot water to the powder in a jar and shaking it well, creating a paste using a porcelain mortar, or using a hand blender to thoroughly mix the powder and water. Once the indigo is soaked, pour the mixture into a container with a minimum capacity of 1 liter and add more water. The next step is to add the reducing agent to the container to activate the dye. Keep in mind that the size of the container should be large enough to accommodate the material you will add along the way while preparing the vat.
You may come across various recipes that use different materials to reduce indigo. However, we recommend using the 1-2-3 vat method, as it is both practical and effective. This method involves using 1 part indigo, 2 parts pH regulator, and 3 parts reducing agent. For example, if you are using 20g of indigo, you will need 60g of reducing agent. We recommend using fructose, or fruit sugar, as a reducing agent. Be sure to add the appropriate amount of fructose to the jar and mix well. However, keep in mind that this alone is not enough to initiate the reduction reaction, as the indigo particles are still undissolved and suspended in water.
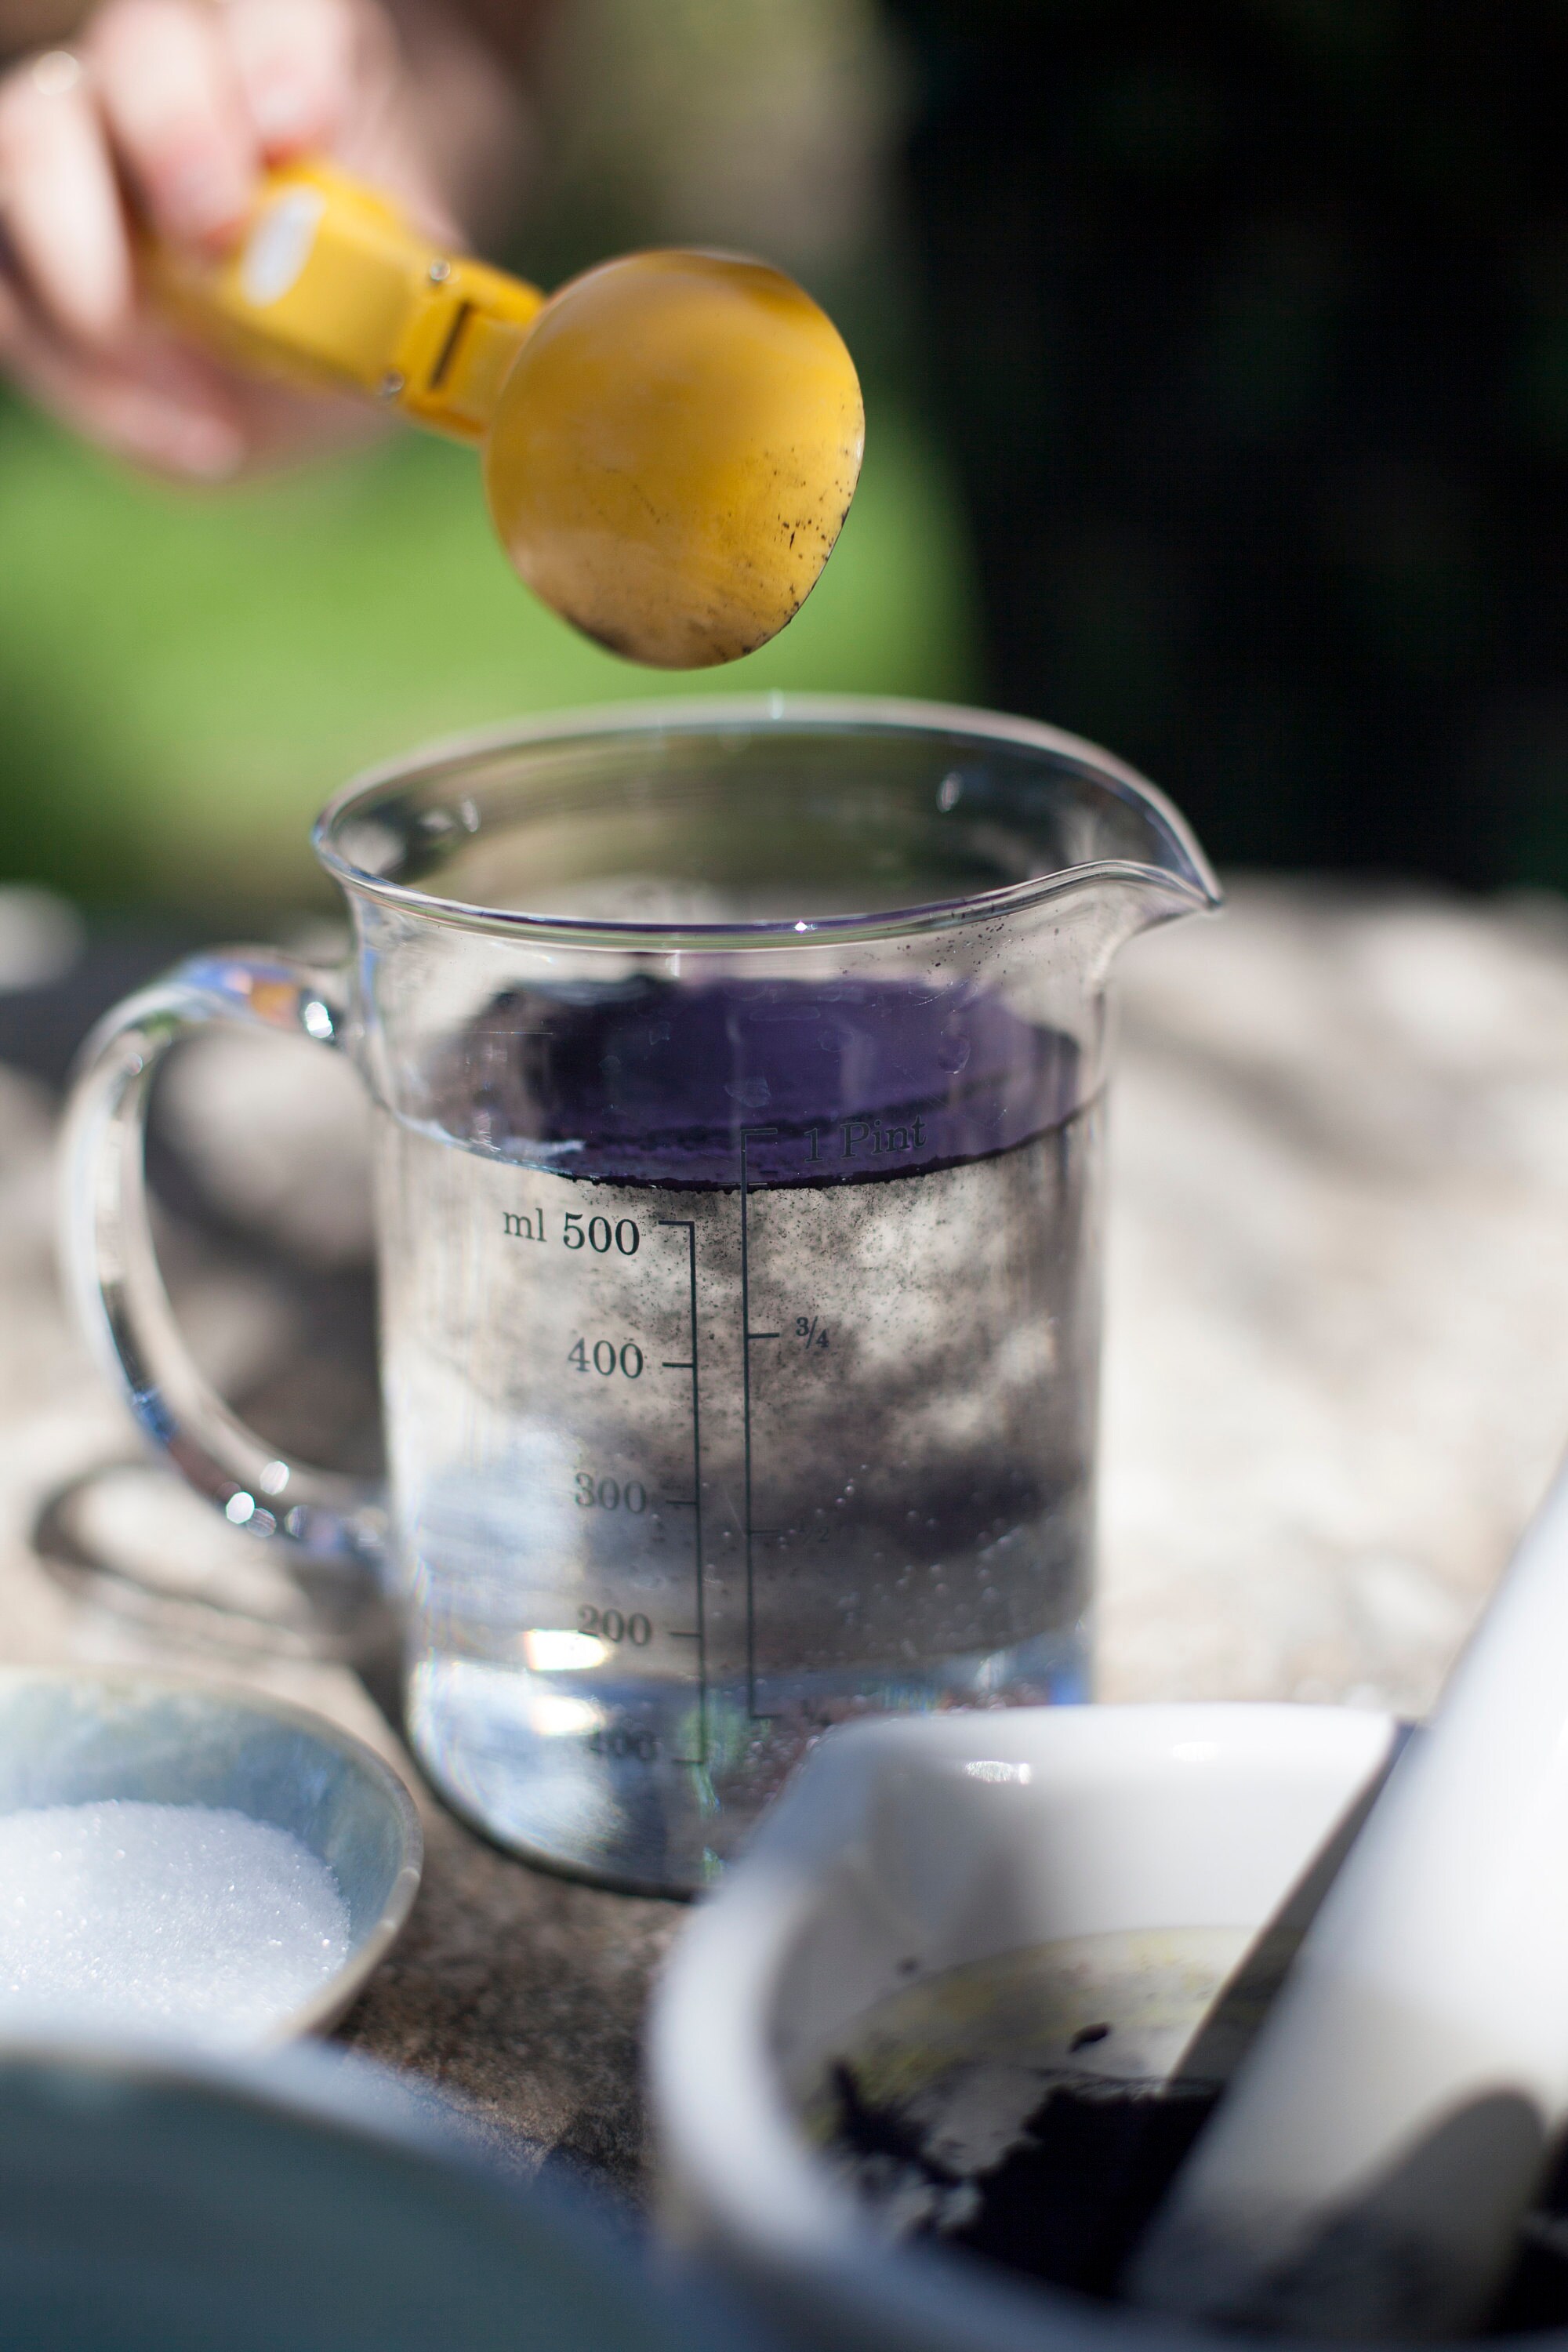
To make the indigo soluble and active, it is necessary to raise the pH of the vat. One way to do this is by using calcium hydroxide, also known as slaked lime. Using a 1:2 ratio of indigo to calcium hydroxide, add the appropriate amount to the jar and mix well. It is normal for some chemical reactions to occur, so don't be alarmed. If necessary, top off the vat with water and let it rest. A bronze layer on the surface of the solution over time is a sign that things are on track.
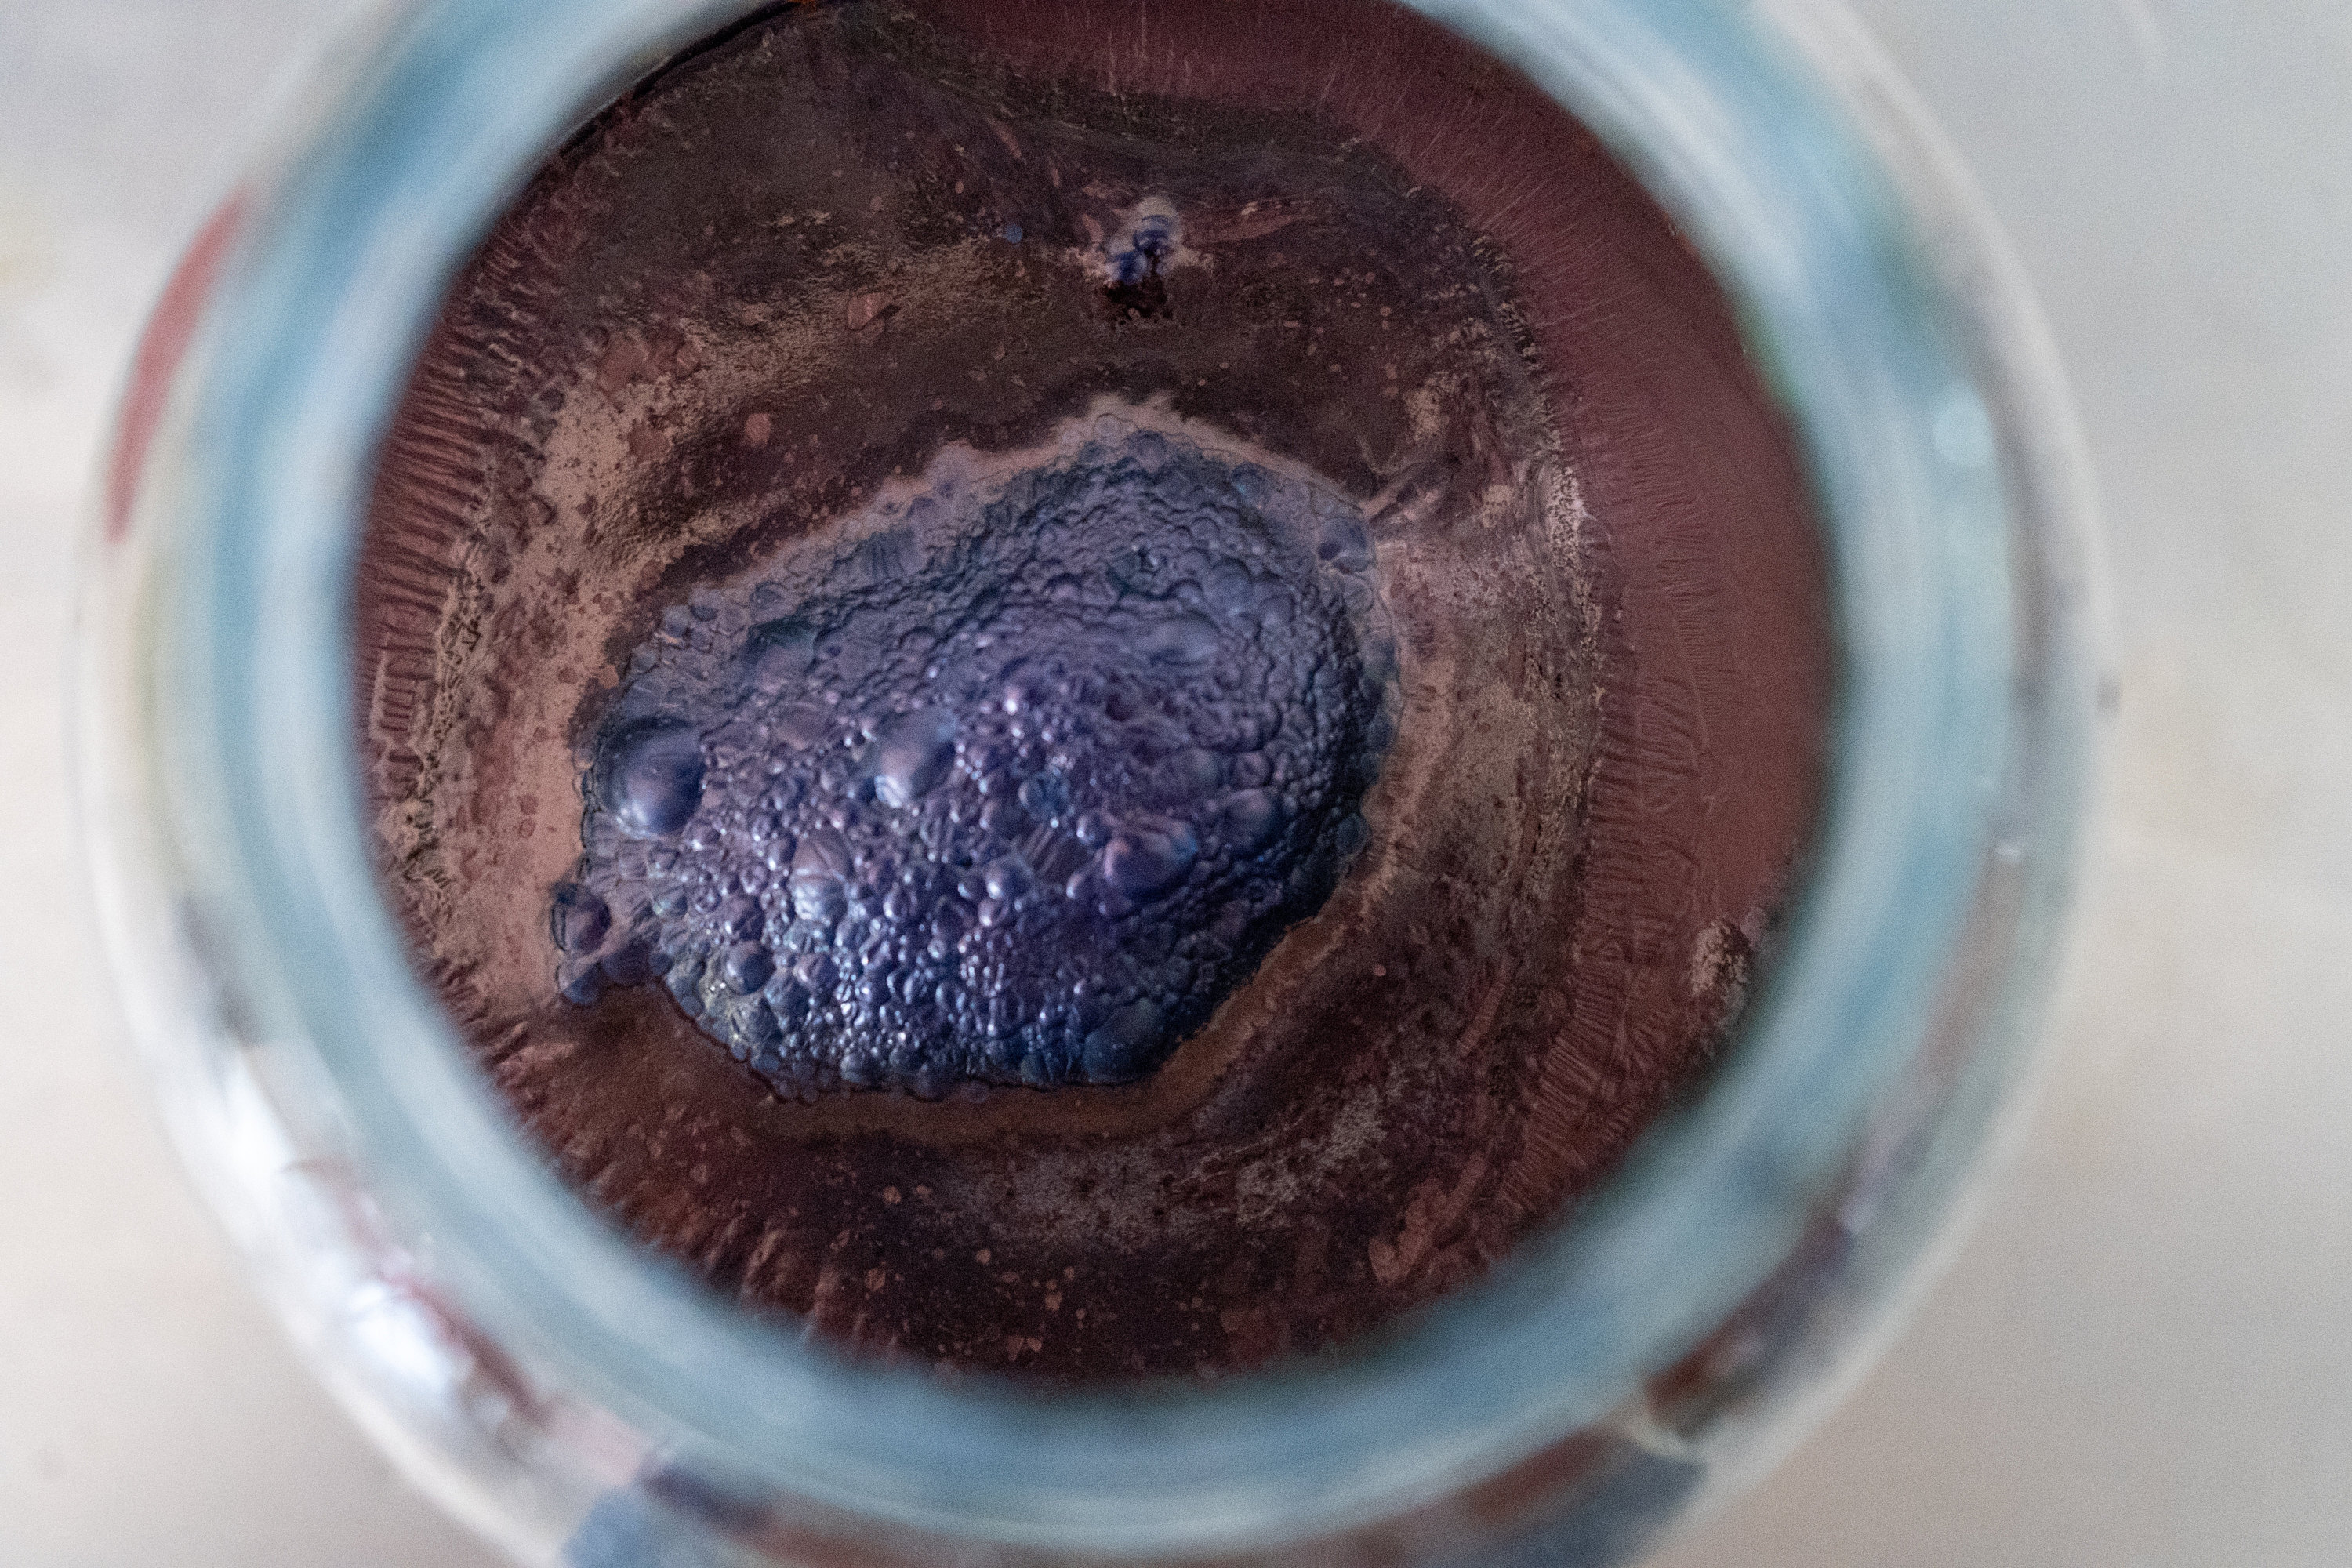
This jar can be your vat if it is enough. Make sure you wait at least 6 hours for the vat to mature. However, if you need a larger volume, you should transfer the dye solution from the jar to a larger container. To do this, fill your bucket with hot water (around 50-60 degrees Celsius) and pour the solution from the jar slowly, without creating any bubbles, into the bucket as low as possible. Mix quickly, in one direction, without shaking. From this point on, it is important to minimize the amount of oxygen that enters the dye vat. So, your movements should be rapid but gentle and careful. Allow the dye vat to rest overnight and do the dyeing the next day. Mixing the vat a few times during this period without shaking can lead to better results as it reintroduces indigo particles that have settled to the bottom back into the solution.
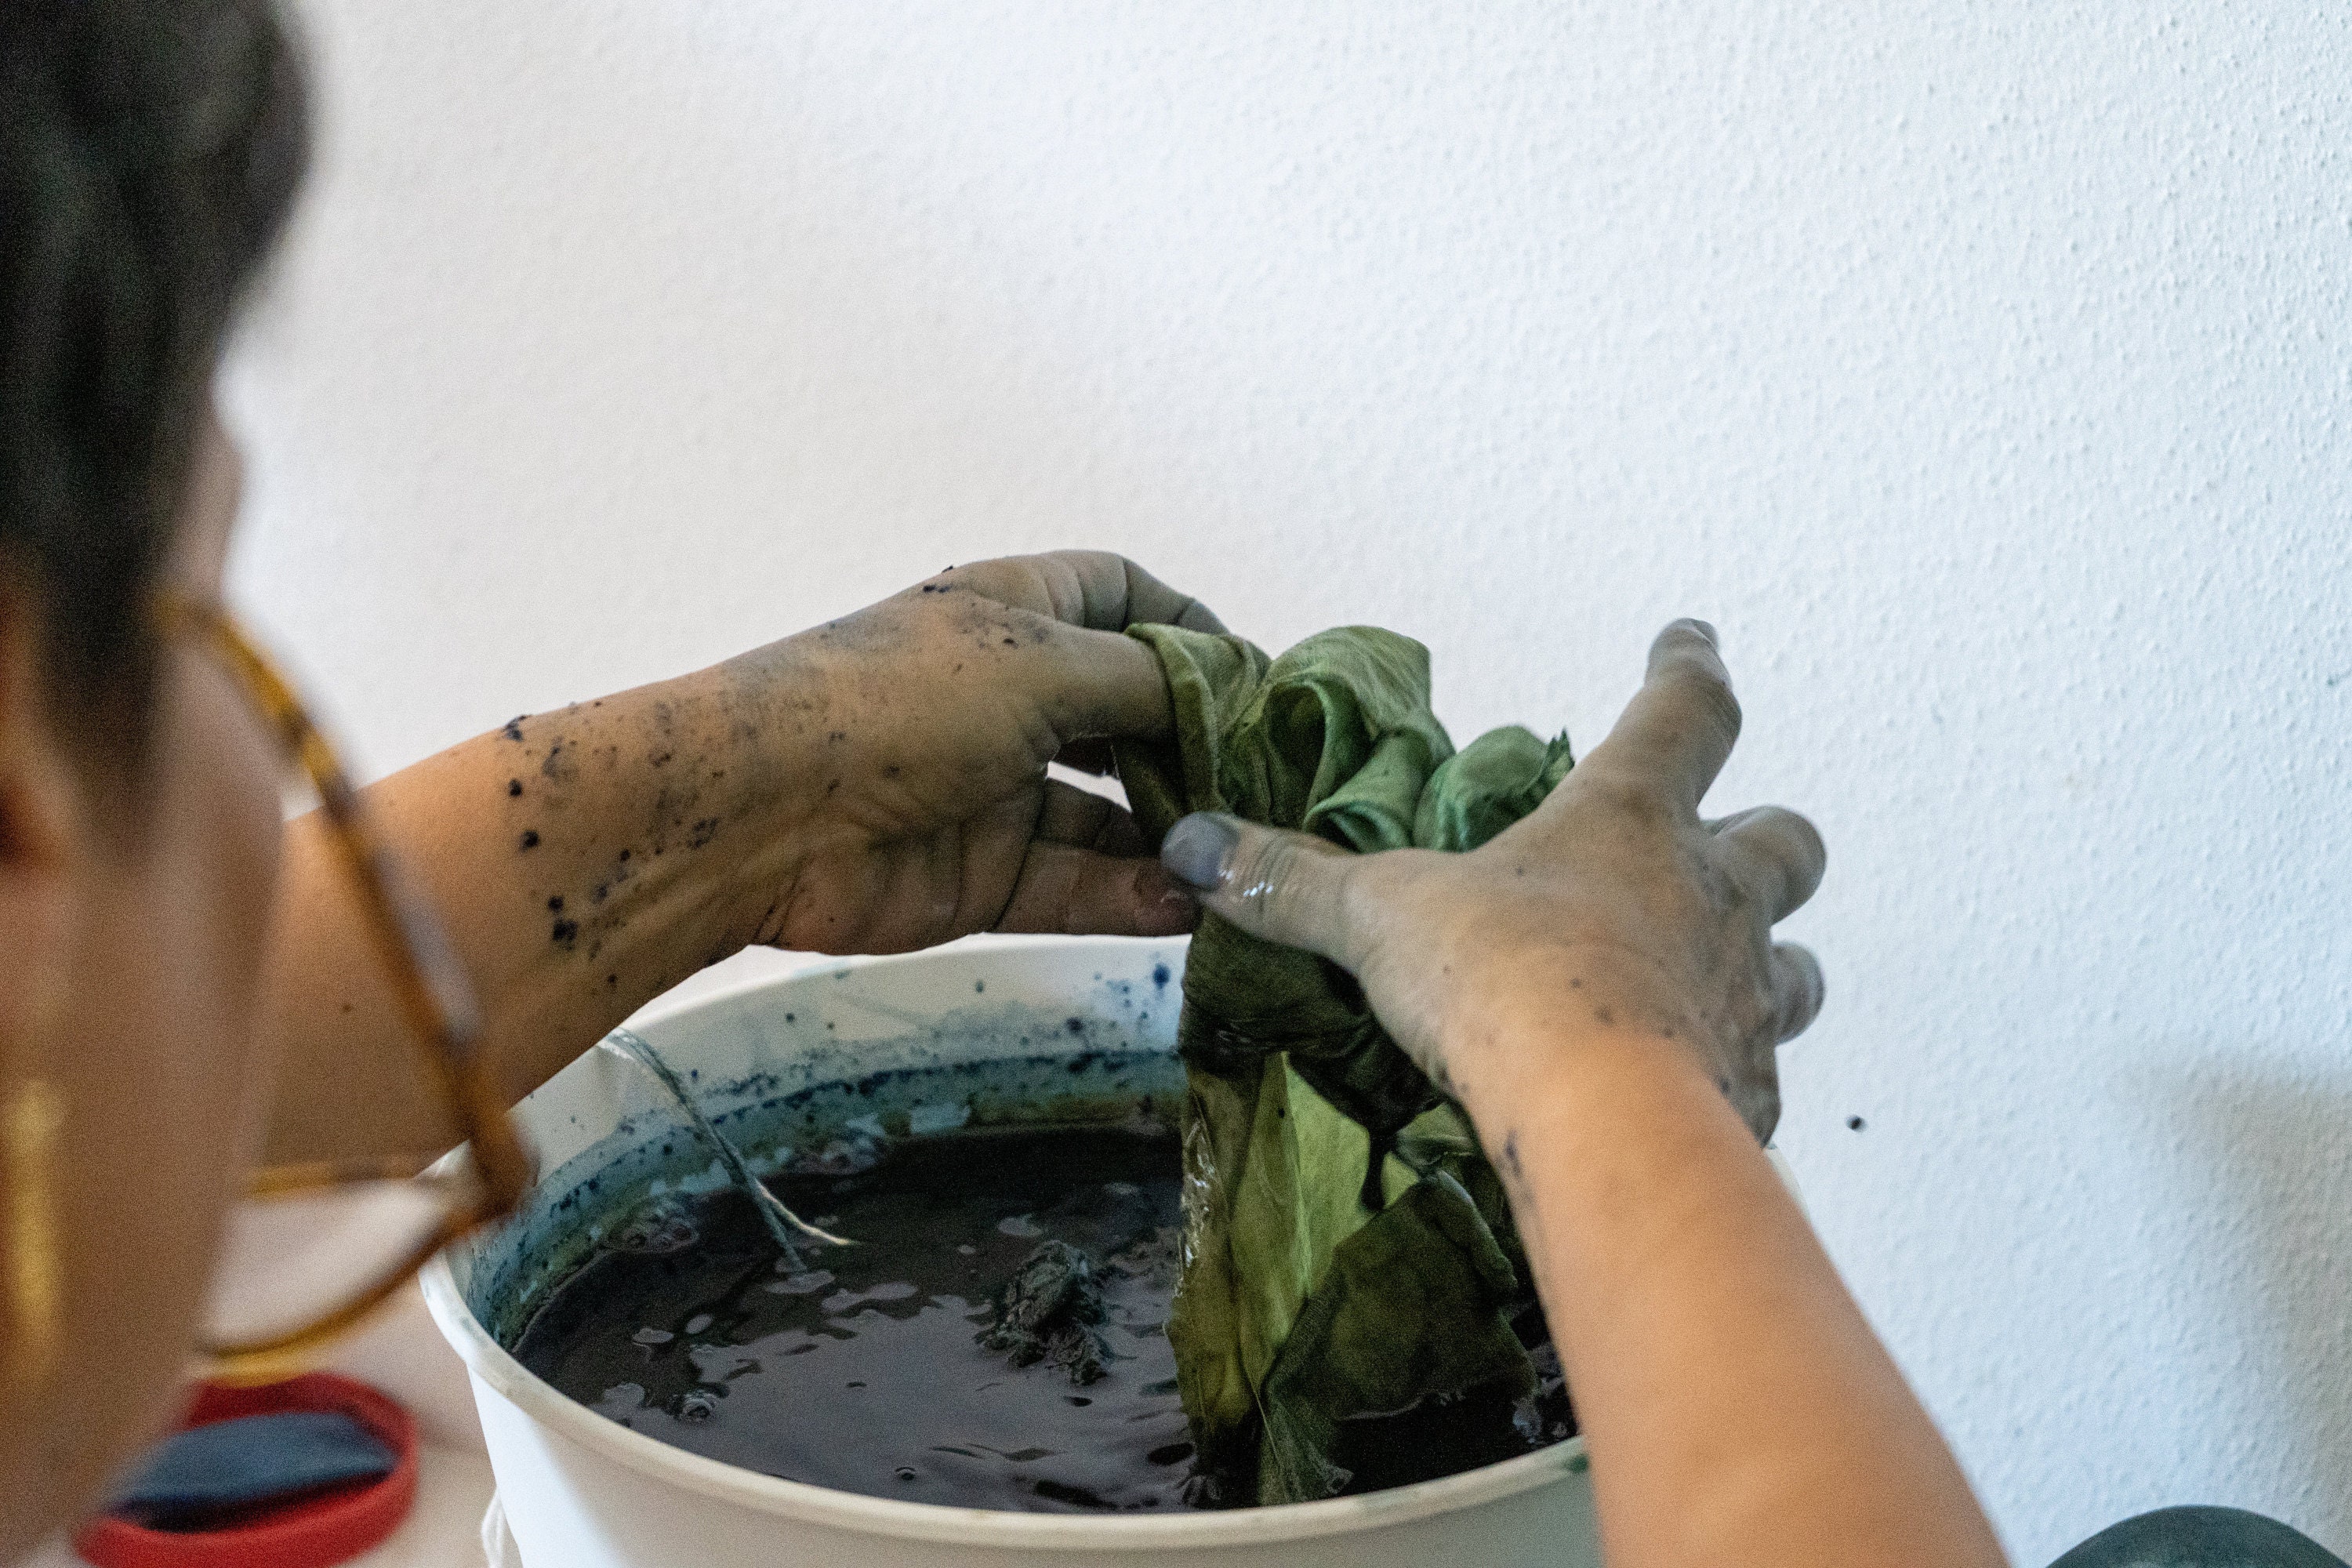
The most distinctive feature of indigo dyeing is that the blue inactive solution turns to a yellow-green color and becomes active. This means that if your fiber changes from green to blue as a result of contact with oxygen after it has been dipped and removed from the vat, your dyeing has been successful. The dyeing function of indigo is to cover the fiber (unlike mordant dyes which penetrate the fiber). This is why the shade of the color is determined by the number of dips you make in the vat. More dips mean more coats, resulting in a darker blue. It's sufficient to keep the fiber in the vat for 5-10 minutes for each dip.
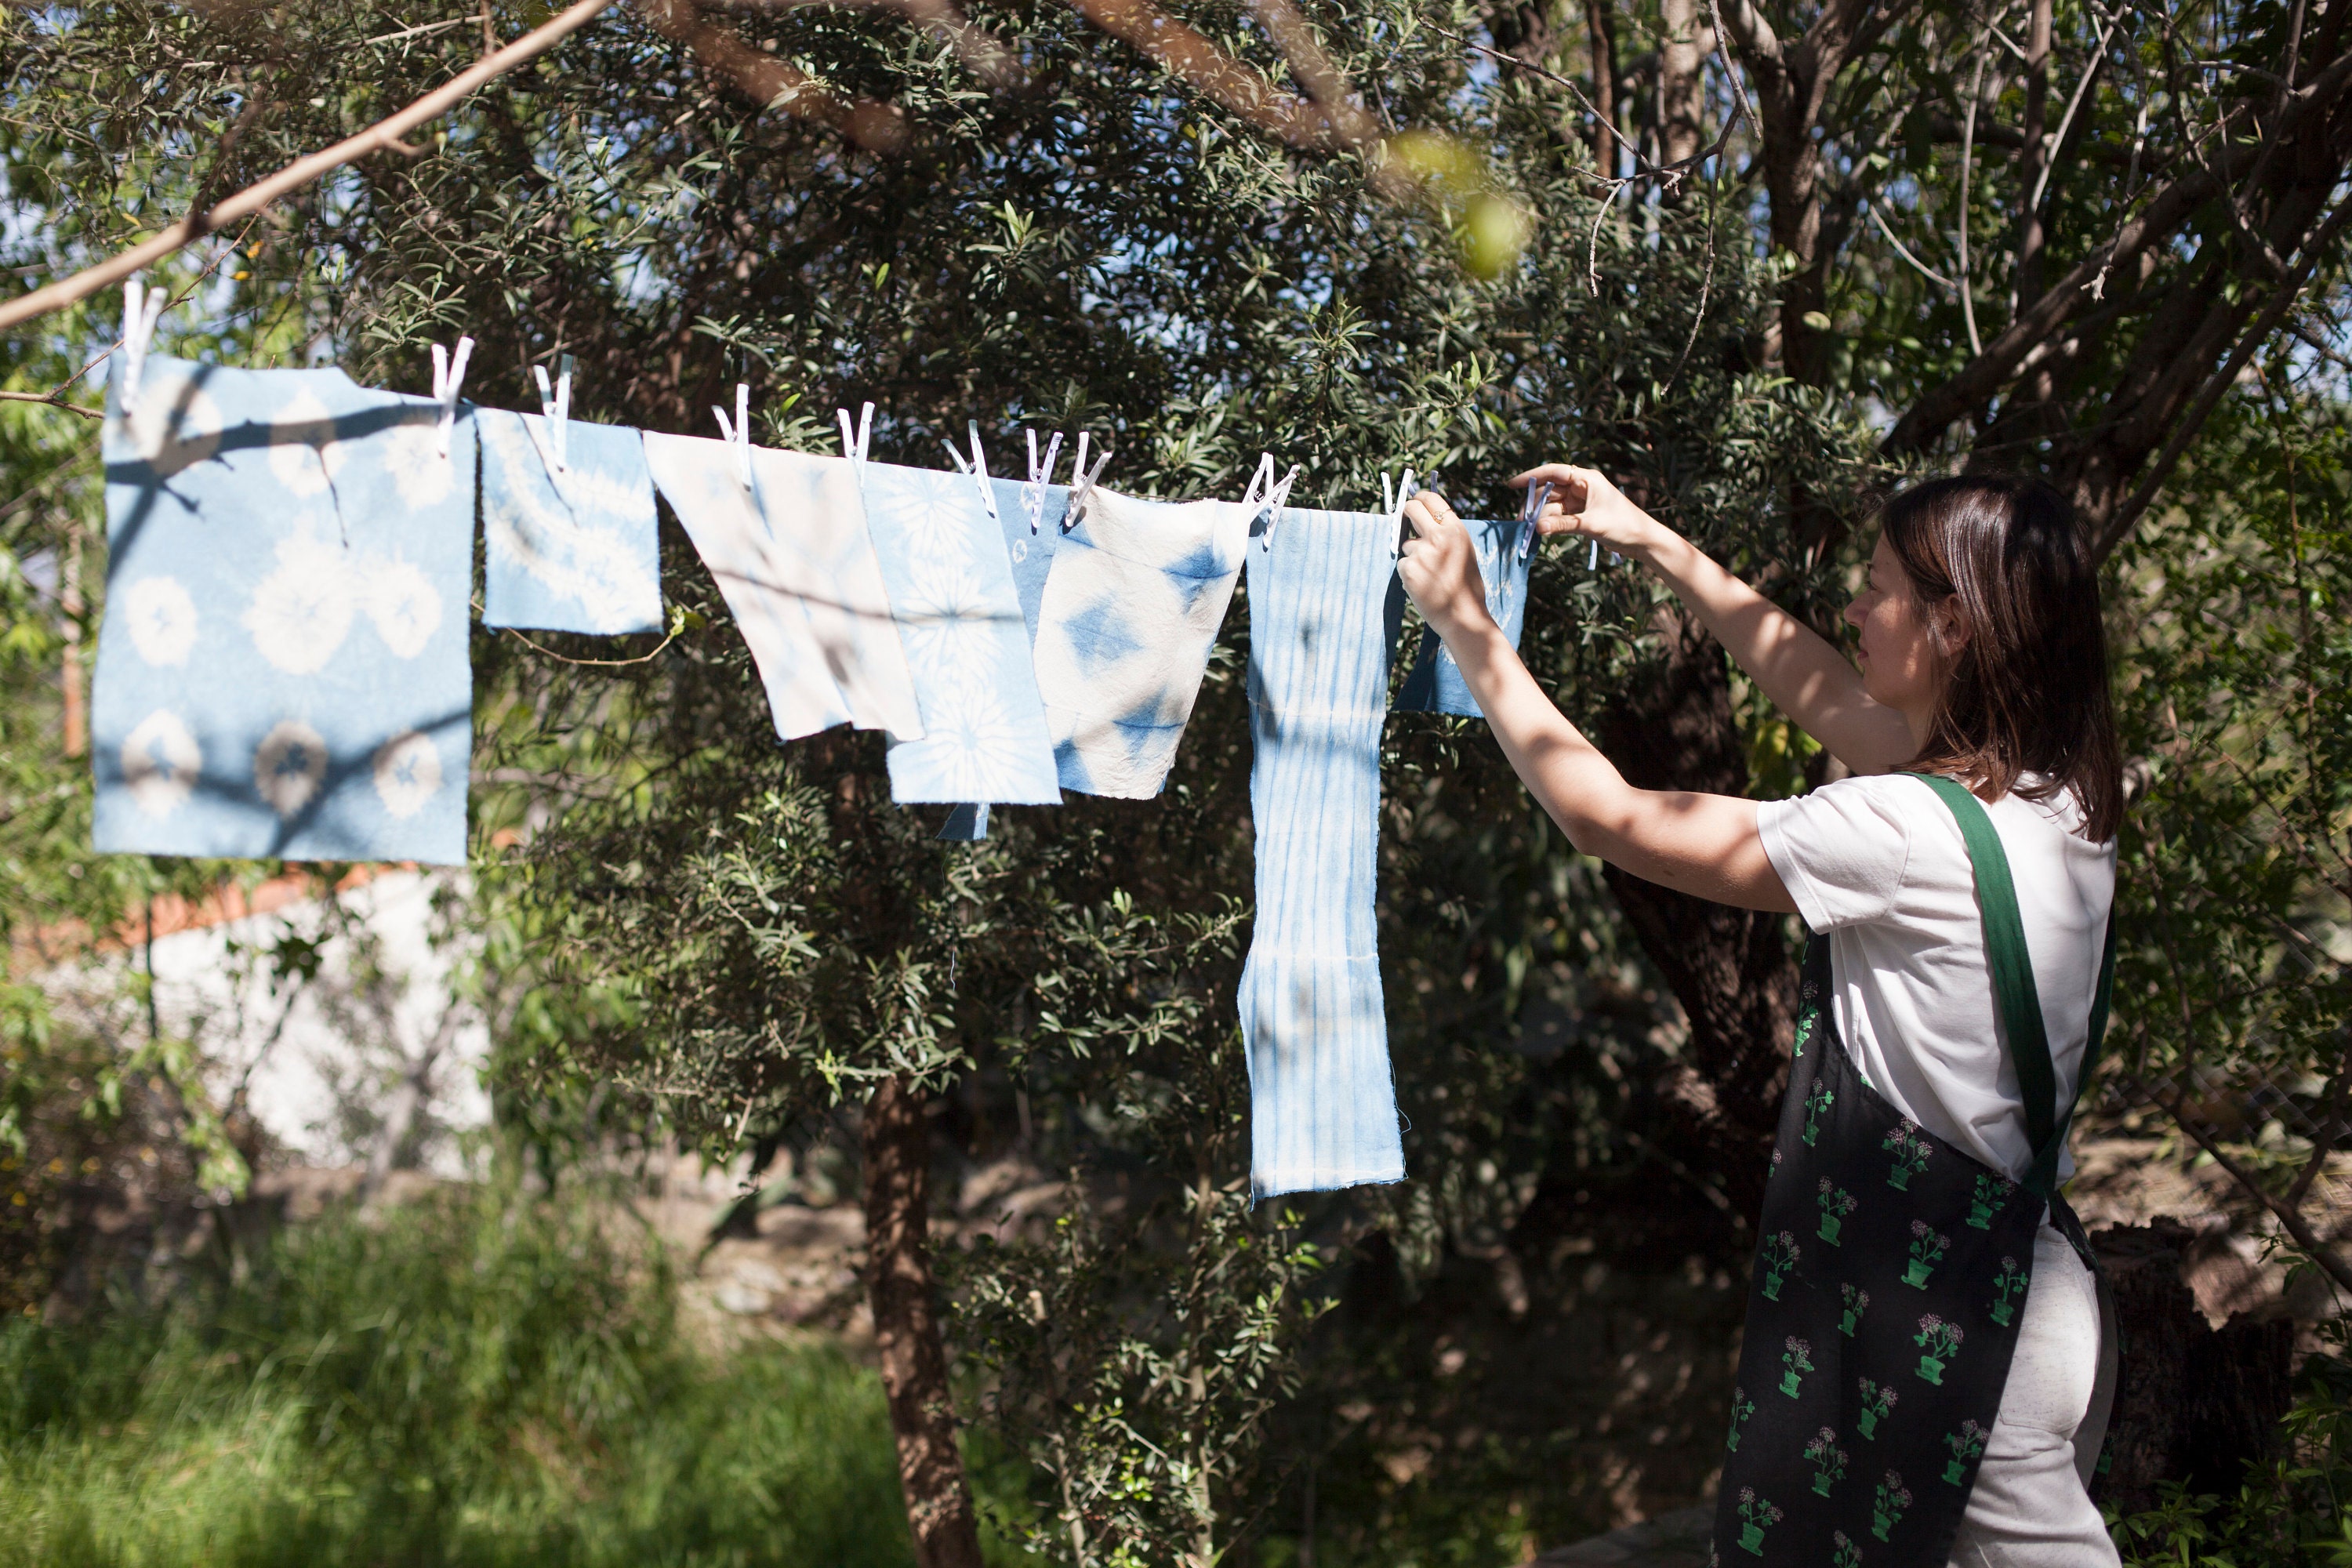
After you have finished your dyeing, it is important to neutralize your fiber. Your dye vat was in a fairly alkaline environment, and although cotton is relatively durable, animal fibers can suffer from high pH. To counteract this, you will need to use a low pH, or an acid, for neutralization. White vinegar is an ideal solution for this step. First, rinse the dyed fiber under running water, then soak it in a vinegar solution for at least half an hour. Finally, wash it with hot water and natural soap to ensure the fiber is thoroughly clean and neutralized. Congratulations, you have completed your first indigo dyeing!
For more detailed information, please visit our Indigo Dyeing Kit page here, it is a perfect way to start your vat.
Best,
Özge
*Scanned images are from the book 'Indigo, Egyptian Mummies to Blue Jeans', by Jenny Balfour-Paul

